Get ready for an exciting journey into the world of science with this ultimate guide to DIY experiments! You'll discover a treasure trove of hands-on activities that will captivate your child's imagination and nurture their love for learning. From colorful chemical reactions and gravity-defying experiments to electrifying static electricity and magnetic marvels, there's something for every curious mind. Release your inner scientist with bubble-ology, erupting volcanoes, invisible ink messages, crystal growing, and even edible science creations. As you explore each thrilling activity, you'll uncover the secrets behind the science and ignite a lifelong passion for discovery.
Colorful Chemical Reactions
Colorful chemical reactions captivate kids' imaginations and spark their curiosity about the fascinating world of science. You can easily set up simple experiments at home using everyday ingredients to demonstrate these mesmerizing reactions.
One classic example is the "rainbow in a jar" experiment, where you layer different colored liquids with varying densities in a clear jar. As the liquids settle, they create a stunning, multi-layered display.
Another exciting experiment is the "color-changing milk" reaction. Pour milk into a shallow dish, add drops of food coloring, and then place a drop of dish soap in the center. Watch as the colors swirl and dance across the surface, creating a kaleidoscope of hues. This reaction occurs due to the dish soap breaking the surface tension of the milk and interacting with the fat molecules.
Introduce your kids to the world of pH indicators with the "red cabbage indicator" experiment. Boil red cabbage leaves in water, strain the liquid, and use it to test the pH of various household substances. The cabbage juice will change color depending on the acidity or alkalinity of each substance, providing a visual representation of pH levels.
Gravity-Defying Experiments
Gravity-defying experiments will amaze your kids and teach them about the fascinating forces at play in our universe. One simple experiment is the "Balancing Act."
You'll need a ruler, a penny, and a quarter. Place the ruler on the edge of a table, with about one-third of it hanging off. Put the penny on the short end of the ruler, and the quarter on the long end. Slowly slide the quarter towards the penny until the ruler balances on the edge of the table. This illustrates the principles of leverage and center of gravity.
Another experiment is the "Floating Ping Pong Ball." Cut a ping pong ball in half and place it in a glass of water with the open side facing up.
Position a straw about an inch away from the ball and blow through it. The ball will seem to defy gravity and hover in the air! This happens because the fast-moving air from the straw creates an area of low pressure above the ball, while the high pressure below it pushes it upwards, creating lift.
Electrifying Static Electricity

You're about to commence an electrifying journey into the world of static electricity!
Let's start with the basics: static electricity occurs when an imbalance of electrical charges builds up on an object's surface.
With a few simple household items, you can perform exciting experiments that demonstrate the principles of static electricity in action.
Static Electricity Basics
With just a few simple items, you can explore the enchanting world of static electricity! It's the same force that makes your hair stand up when you rub a balloon against it or causes clothes to cling together in the dryer.
Static electricity occurs when an object gains or loses electrons, creating an imbalance of charges.
To experience static electricity firsthand, rub a balloon on your hair and watch as it attracts small pieces of paper. You can also create a simple electroscope using a plastic straw, thread, and aluminum foil to detect the presence of static charges.
Another fun experiment involves using a charged comb to bend a thin stream of water from a faucet.
Understanding the basics of static electricity is the first step in exploring more advanced concepts, such as conductors and insulators, charge transfer, and the triboelectric effect.
Simple Experiments
Ready to put your newfound knowledge of static electricity to the test? You can perform several simple experiments at home to observe static electricity in action.
One classic experiment involves rubbing a balloon on your hair and sticking it to a wall. As you rub the balloon, electrons transfer from your hair to the balloon's surface, giving it a negative charge. The wall's positive charge attracts the negatively charged balloon, making it stick.
Another fun experiment is the "static electricity butterfly." Cut out a small paper butterfly and balance it on the tip of a pencil. Rub a plastic comb through your hair, then hold the comb near the butterfly without touching it. You'll see the butterfly's wings attract towards the comb due to the opposite charges.
Finally, try the "jumping pepper" experiment. Sprinkle some black pepper onto a plate, then rub a plastic spoon on a wool sweater. Hold the spoon above the pepper and watch as the pepper jumps up to the spoon, demonstrating the attractive force between opposite charges.
These simple experiments help you visualize the fascinating world of static electricity.
Magnetic Marvels
Exploring the invisible forces of magnetism, you and your kids can uncover a world of scientific wonder right at home. Start by gathering a variety of magnets, from bar magnets to horseshoe magnets, and everyday objects like paper clips, coins, and nails.
Encourage your children to test which materials are attracted to the magnets and which aren't. They'll be amazed to discover that not all metals are magnetic!
Next, try making a simple compass using a magnetized needle, a cork, and a bowl of water. Watch as the needle aligns itself with the Earth's magnetic field, always pointing north.
You can also create a magnetic maze using a sheet of paper, a magnet, and some small metal objects. Draw a maze on the paper, place the metal objects inside, and use the magnet beneath the paper to guide them through the maze.
These hands-on experiments will spark your children's curiosity about the fascinating properties of magnets and the role they play in our world.
Bubble-ology 101

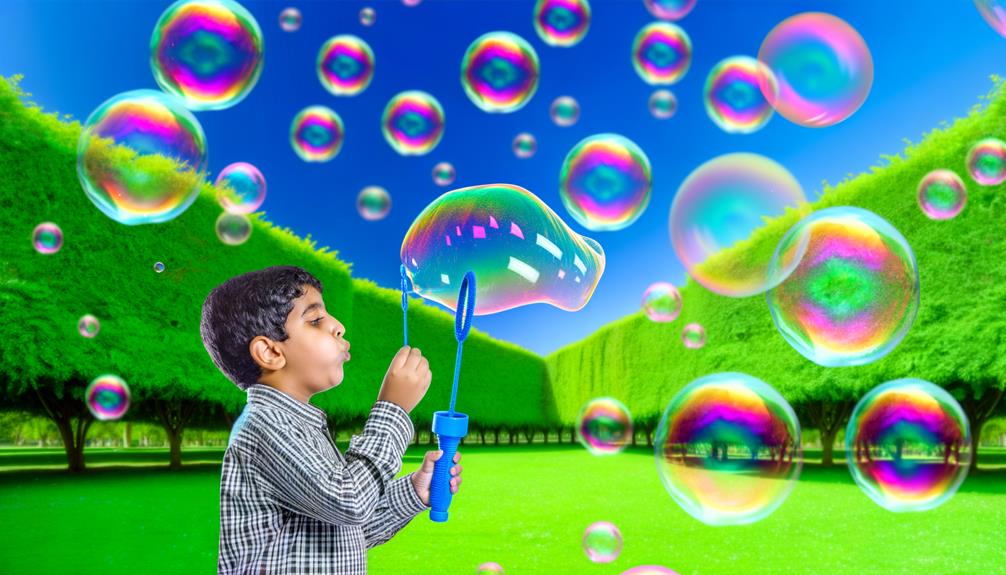
Bubbles never fail to captivate children's imaginations, and with a few simple ingredients, you can transform your home into a bubble-filled laboratory.
Start by mixing dish soap, water, and glycerin or corn syrup to create a bubble solution that produces stronger, longer-lasting bubbles. Experiment with different bubble wands, from store-bought varieties to homemade ones crafted from pipe cleaners, straws, or even cookie cutters.
Here are some fascinating bubble activities to explore:
- Giant bubbles: Use a large wand or a hula hoop to create enormous bubbles that dwarf your young scientists.
- Bubble art: Place a piece of paper in a shallow dish, blow bubbles onto the paper, and watch as they create a unique, colorful design.
- Bubble shapes: Observe how bubbles naturally form spheres due to surface tension, and challenge your kids to create different shapes using various wands.
- Bubble towers: Have your children blow bubbles on top of each other to create a wobbly, sky-high tower.
- Frozen bubbles: On a cold day, blow bubbles outside and watch them freeze into delicate, icy orbs.
Slime Science
After the bubble-filled excitement, it's time to get your hands dirty with some slime science! Slime is a non-Newtonian fluid, meaning it behaves differently than regular liquids. When you apply force, it feels solid, but when you let it rest, it oozes like a liquid.
To make your own slime, you'll need white glue, borax, water, and food coloring. Mix equal parts of glue and water in a bowl, then add a few drops of food coloring. In a separate container, dissolve 1/2 tsp of borax in 1/4 cup of warm water. Slowly pour the borax solution into the glue mixture while stirring. Keep mixing until the slime forms and pulls away from the sides of the bowl.
Experiment with your slime by stretching, squeezing, and poking it. Observe how it behaves differently under various forces. You can even try adding glitter, beads, or other small objects to create unique textures.
Slime science is a fun way to explore the fascinating world of non-Newtonian fluids while getting a bit messy in the process!
Erupting Volcanoes

Get ready to witness the power of a volcanic eruption right in your own home! This exciting experiment is a classic that never gets old. You'll need a few simple ingredients: baking soda, vinegar, dish soap, food coloring, and a container to serve as your volcano.
First, build your volcano using the container and some crafting materials like paper mache or clay. Next, add a few drops of dish soap and food coloring to the volcano's opening. Then, pour in some baking soda and watch as the magic happens! When you add the vinegar, the chemical reaction between the baking soda and vinegar will cause the mixture to foam and erupt, simulating a volcanic eruption.
This hands-on activity teaches kids about:
- Chemical reactions between acids and bases
- The scientific method of observation and experimentation
- Geological processes and volcanic activity
- The importance of safety when conducting experiments
- The fun and excitement of learning through interactive projects
With this erupting volcano experiment, you'll bring science to life and inspire a love for learning in your young scientists!
Invisible Ink Messages
Want to send secret messages like a real spy? You can create your own invisible ink using everyday household items.
All you need is some lemon juice, water, a bowl, a cotton swab, and a blank piece of paper. Mix equal parts of lemon juice and water in the bowl. Dip the cotton swab into the mixture and use it to write your message on the paper. Let the ink dry completely. It'll disappear, leaving the paper looking blank.
To reveal the hidden message, you'll need to apply heat. Hold the paper up to a light bulb, or use a hair dryer on its lowest setting. Be careful not to burn the paper! The heat will cause the lemon juice to oxidize, turning brown and making your secret message visible.
Experiment with different ratios of lemon juice and water to find the perfect formula for your invisible ink. You can also try using other acidic liquids like vinegar or milk.
Have fun exploring the world of secret communication and release your inner spy!
Grow Your Own Crystals

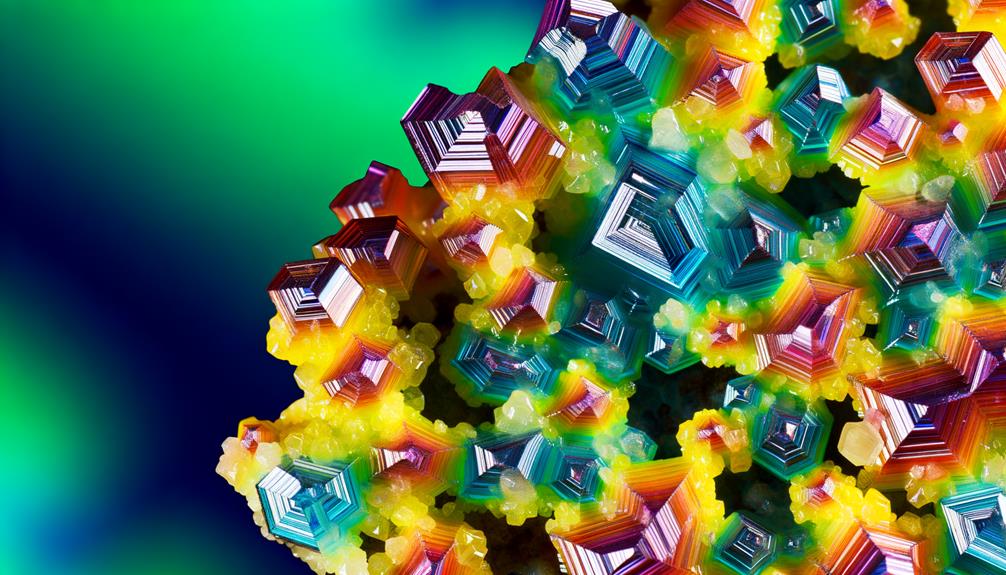
Growing shimmering crystals at home is an exciting and educational science experiment for kids. You can create your own crystal garden using household ingredients like Epsom salt, borax, or sugar.
To start, dissolve your chosen substance in boiling water until no more will dissolve. Pour the solution into a clean jar and add a piece of string or a pipe cleaner suspended from a pencil. Place the jar in a quiet spot and wait for the crystals to grow over the next few days.
As your crystals form, you'll witness firsthand how molecules can arrange themselves into intricate, repeating patterns. This experiment teaches valuable lessons about:
- Solubility and saturation points
- Crystallization and molecular structure
- Patience and observation skills
- The beauty and diversity of the natural world
- The practical applications of crystals in science and technology
Growing crystals at home is a simple yet enchanting project that sparks curiosity and encourages further exploration into the fascinating world of chemistry and mineralogy.
With a little creativity, you can even experiment with different colors, shapes, and sizes to create your own unique crystal masterpieces.
Edible Science Creations
You can create edible science with candy crystal geodes, fizzy lemonade eruptions, and gummy worm osmosis.
These hands-on experiments aren't only educational but also tasty treats.
Let's explore each of these sweet science activities.
Candy Crystal Geodes
Create edible science with candy crystal geodes! These tasty treats not only satisfy your sweet tooth but also demonstrate the fascinating process of crystallization.
To make your own candy geodes, you'll need hard candies in various colors, a microwave-safe bowl, and a little patience. Start by crushing the candies into small pieces and arranging them in the bowl. Microwave the candies until they melt and bubble, then let them cool and harden. As the candy cools, crystals will form, creating a stunning geode-like appearance.
Candy crystal geodes offer a delightful way to explore science through food. Consider these key points:
- Crystallization occurs when molecules align in a repeating pattern as a liquid cools and solidifies.
- Different types of candies can produce varied crystal shapes and sizes.
- Experimenting with candy colors and layering techniques can create unique geode designs.
- The process of making candy geodes teaches patience and observation skills.
- Sharing your edible geodes with friends and family can spark their interest in science and cooking.
Fizzy Lemonade Eruptions
Release the power of chemistry in your kitchen with fizzy lemonade eruptions! This exciting experiment combines the tartness of lemon juice with the effervescence of baking soda, creating a bubbly and tasty treat.
You'll need a tall glass, lemon juice, water, baking soda, and sugar. First, mix equal parts lemon juice and water in the glass. Add a teaspoon of sugar and stir until dissolved.
Now, here's the fun part: drop a teaspoon of baking soda into the lemonade and watch as the chemical reaction creates a fizzy eruption! The baking soda (sodium bicarbonate) reacts with the citric acid in the lemon juice, releasing carbon dioxide gas and causing the lemonade to bubble and foam.
Experiment with different ratios of lemon juice, water, and baking soda to create varying levels of fizziness. Once the eruption subsides, give your lemonade a stir and enjoy the tangy, bubbly concoction!
This simple experiment demonstrates the fascinating world of acid-base reactions while providing a revitalizing beverage. Remember to always supervise children during experiments and encourage them to make observations and ask questions.
Gummy Worm Osmosis
Discover the fascinating world of osmosis with a delightfully edible twist: gummy worm osmosis! You'll need gummy worms, water, salt, and cups.
First, fill one cup with plain water and another with saltwater. Place a gummy worm in each cup and observe the changes over time. The gummy worm in the saltwater will shrink as water moves out of it, while the one in plain water will expand as water moves in.
This process, called osmosis, occurs when water moves across a semipermeable membrane from an area of low solute concentration to an area of high solute concentration.
- Osmosis is essential for life, enabling cells to maintain proper fluid balance and nutrient transport.
- Gummy worms are made of gelatin, a semipermeable substance that allows water to pass through.
- The saltwater has a higher solute concentration than the gummy worm, causing water to move out.
- The plain water has a lower solute concentration than the gummy worm, causing water to move in.
- Experimenting with different solute concentrations can help you understand the factors affecting osmosis rate.
Frequently Asked Questions
How Can I Ensure My Child's Safety During Science Experiments?
Guarantee your child's safety during science experiments by supervising them, using age-appropriate materials, and following instructions carefully. Wear protective gear, work in a well-ventilated area, and keep a fire extinguisher nearby. Safety comes first!
What Age Group Are These DIY Science Experiments Suitable For?
The age range for these DIY science experiments can vary, but they're generally suitable for kids aged 6-12. You'll want to supervise younger children more closely and adjust the difficulty level based on your child's abilities.
Do I Need Any Special Equipment or Materials for These Experiments?
You'll need some basic items like baking soda, vinegar, and food coloring for most experiments. However, a few may require special materials like a microscope or lab glassware. It's best to check each experiment's requirements.
Can These Experiments Be Performed Indoors, or Do They Require Outdoor Space?
You can perform many experiments indoors, but some may require outdoor space for safety or to avoid making a mess. It's best to check the instructions for each experiment before getting started.
How Can I Explain the Science Behind These Experiments to My Child?
You can explain the science by breaking down the experiment into simple concepts. Discuss the materials, the process, and the expected results. Encourage questions and use age-appropriate language to make it engaging and understandable.
Conclusion
You've now got a fantastic collection of DIY science experiments to explore with your kids! From colorful chemical reactions to bubble-ology, there's something for every curious mind. These hands-on activities will not only entertain but also educate, fostering a love for science and a deeper understanding of the world around us. So, gather your materials, put on your safety goggles, and plunge into the exciting world of science right in your own home!


Leave a Reply