Turn your kitchen into a science lab with these 6 delicious experiments! You'll create homemade rock candy, churn ice cream without a freezer, and whip up edible slime that's safe to eat. Discover the magic of density by layering colorful liquids in rainbow jars. Bake chocolate lava cakes to explore thermal insulation and make your own butter to learn about emulsions. These hands-on activities make science fun and tasty for kids of all ages. Keep reading to find out how you can transform everyday ingredients into exciting learning opportunities that will satisfy their curiosity and their taste buds.
Homemade Rock Candy
Sweeten your day by making homemade rock candy in your kitchen!
You'll need a cup of water, 2-3 cups of sugar, a jar, skewers, and clothespins.
Boil the water in a pot, then stir in the sugar one cup at a time until it's fully dissolved. Keep adding sugar until no more will dissolve, creating a supersaturated solution.
Remove the pot from heat and let it cool for 10 minutes.
Meanwhile, prepare your skewers by wetting them and rolling them in sugar. This provides a surface for the sugar crystals to grow on.
Pour the cooled sugar solution into the jar, then clip the skewers to the jar's rim using clothespins, ensuring they don't touch the bottom or sides.
Place the jar in a cool, undisturbed spot for 7-10 days. As the water evaporates, sugar crystals will form on the skewers, growing into delightful rock candy.
Once they've reached the desired size, remove the skewers from the jar and enjoy your sweet, scientific treat!
This simple experiment demonstrates supersaturation and crystallization, making learning a tasty experience.
Ice Cream Without a Freezer
After satisfying your sweet tooth with rock candy, cool off with a batch of homemade ice cream—no freezer required!
You'll need two zip-top bags (one quart-size, one gallon-size), 1/2 cup milk, 1/2 cup heavy cream, 1/4 cup sugar, 1/2 tsp vanilla extract, 4 cups ice, and 1/2 cup rock salt.
In the quart-size bag, mix the milk, cream, sugar, and vanilla. Seal tightly, removing excess air.
In the gallon-size bag, combine the ice and rock salt. Place the sealed quart-size bag inside the gallon-size bag and seal tightly.
Now, shake the bags vigorously for 10-15 minutes. The salt lowers the freezing point of the ice, allowing it to absorb more heat from the milk mixture. As you shake, the milk mixture freezes into ice cream.
After 15 minutes, remove the quart-size bag, rinse off the salt water, and enjoy your homemade ice cream!
The science behind this tasty treat is a perfect example of how salt and ice create an endothermic reaction, absorbing heat from their surroundings to freeze the cream mixture into a delightful dessert.
Edible Slime

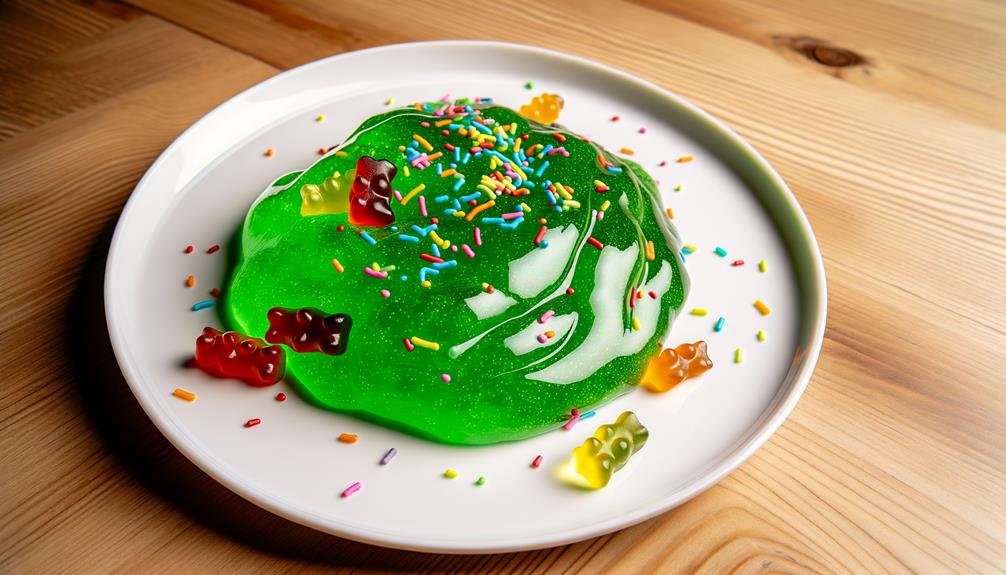
Ready for some messy, edible fun? Slime is a hit with kids, and now you can make a version that's safe to eat! This simple recipe uses common kitchen ingredients to create a gooey, stretchy texture that's perfect for hands-on play.
To make your own edible slime, you'll need:
- 1 cup of cornstarch
- 1/2 cup of sweetened condensed milk
- Food coloring (optional)
- A microwave-safe bowl
Mix the cornstarch and condensed milk in the bowl until well combined. If desired, add a few drops of food coloring and mix thoroughly.
Microwave the mixture for 30 seconds, then stir. Continue microwaving in 15-second intervals, stirring between each interval, until the slime reaches your desired consistency.
Allow the slime to cool before handling. Knead the slime on a clean surface until it becomes smooth and stretchy. Your edible slime is ready to play with!
Rainbow Density Jars
If you're looking for another engaging science activity, rainbow density jars are a colorful way to explore the concept of density. You'll need a tall, clear jar, light corn syrup, dish soap, water, rubbing alcohol, and food coloring. Here's how the layers will look:
| Layer | Liquid | Color |
|---|---|---|
| Bottom | Light corn syrup | Red |
| Second | Dish soap | Yellow |
| Third | Water | Green |
| Top | Rubbing alcohol | Blue |
Pour the liquids into the jar in the order shown, being careful not to mix them. The liquids will remain separate due to their different densities. The corn syrup, being the densest, sinks to the bottom, while the rubbing alcohol, being the least dense, floats on top.
This experiment demonstrates that liquids with different densities will form layers when combined in the same container. The distinct colors make the layers easily visible, creating a striking visual representation of density. Encourage your kids to experiment with different liquids and colors to create their own unique rainbow density jars.
Chocolate Lava Cakes

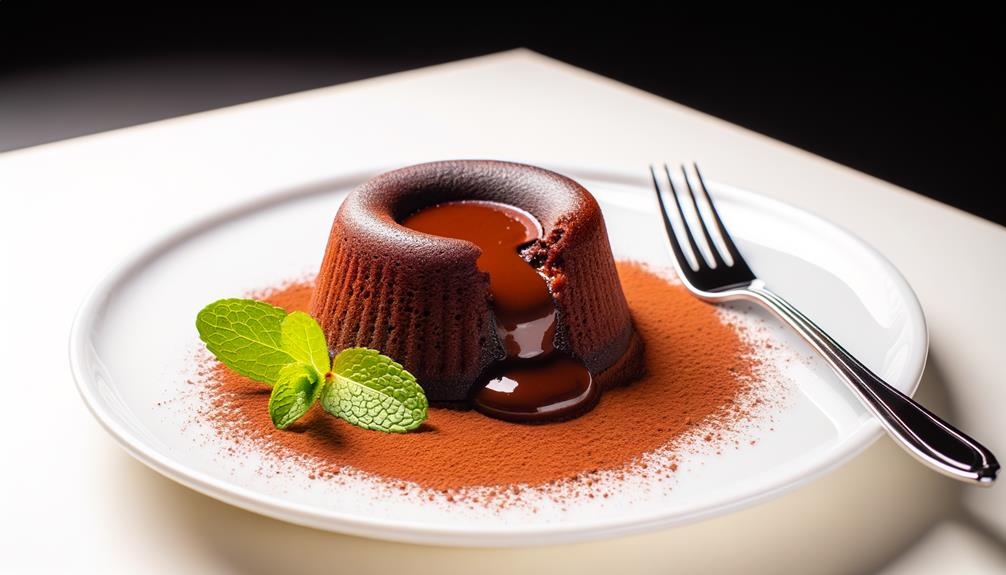
In addition to fun science experiments, you can explore scientific concepts through baking. Take chocolate lava cakes, for example. They demonstrate the principle of thermal insulation. The cake batter acts as an insulator, allowing the molten chocolate center to remain liquid while the exterior cooks through.
Here's the science behind these decadent desserts:
- The batter's thickness and composition slow heat transfer to the center
- The high fat content of the chocolate and butter lowers its melting point
- Baking at a high temperature sets the outer cake quickly, trapping the molten center
- Dusting the ramekins with cocoa powder reduces sticking and improves cake release
DIY Butter
Another kitchen science project you can try is making your own butter. All you need is heavy whipping cream and a jar with a tight-fitting lid.
Pour the cream into the jar, filling it about one-third to half full. Secure the lid tightly and start shaking the jar vigorously for 10-15 minutes. As you shake, you'll notice the cream thickening and eventually separating into solid butter and liquid buttermilk.
The science behind this process is simple: the agitation causes the fat molecules in the cream to collide and stick together, forming butter. The longer you shake, the more butter you'll produce.
Once the butter has formed, pour off the buttermilk and rinse the butter with cold water. You can add salt for flavor if desired. Press the butter together to remove any excess liquid, and voila! You've made your own butter.
This hands-on experiment not only teaches you about the science of emulsions and the properties of fats but also provides a delicious, homemade spread for your toast or baked goods.
Give it a try and impress your friends and family with your DIY butter-making skills!
Frequently Asked Questions
What Is the Science Behind Making Rock Candy?
You dissolve sugar in hot water until it's supersaturated. As the solution cools, sugar molecules bond together and crystallize on a string or stick. Over time, they'll form a large, edible rock candy crystal.
Can You Make Ice Cream Without Using Salt?
You can make ice cream without salt, but it'll take longer to freeze. Salt lowers the freezing point of ice, allowing the ice cream mixture to freeze faster. Without salt, you'll need more patience.
Is It Safe to Eat Homemade Edible Slime?
It's generally not safe to eat homemade edible slime. Most recipes contain borax or glue, which aren't food-safe. If you're craving a slimy snack, try chia seed pudding or gelatin desserts instead.
How Do Different Liquids Stack in Rainbow Density Jars?
To create rainbow density jars, you'll carefully layer liquids with different densities in a jar. Start with the heaviest liquid on bottom and lightest on top. The liquids won't mix, creating a stunning layered effect.
Why Do Chocolate Lava Cakes Have a Gooey Center?
The gooey center in your chocolate lava cake is created by slightly underbaking the batter. As it cooks, the edges set faster than the middle, leaving a molten chocolate center when you dig in.
Conclusion
You've just explored six tasty science experiments that bring learning into the kitchen. Whether you're making rock candy, ice cream, edible slime, rainbow density jars, chocolate lava cakes, or homemade butter, you're engaging in hands-on science that's both educational and delicious. These experiments demonstrate concepts like crystallization, freezing point depression, non-Newtonian fluids, density, and emulsification. So, next time you're in the kitchen, remember that science is all around you – and it's incredibly tasty!


Leave a Reply