To make your own lava lamp, you'll need a clear bottle, water, vegetable oil, food coloring, and an Alka-Seltzer tablet. Start by filling the bottle 3/4 full with water and add a few drops of food coloring. Then, pour about 1/4 cup of oil into the bottle and watch it float on top. Drop a small piece of the Alka-Seltzer tablet into the bottle and observe the bubbles rising through the oil, creating a mesmerizing lava effect. Seal the bottle tightly and place it on a light source to enhance the visual experience. Keep exploring to discover more customization techniques and stunning visual effects.
Gather Materials
Round up a clear 16-oz soda bottle, water, vegetable oil, food coloring, and an Alka-Seltzer tablet. You'll also need a funnel and measuring cups to precisely pour the liquids.
Make certain the soda bottle is clean and dry. Remove any labels, as they can interfere with the lava lamp effect. You can use a bottle of any size, but a 16-oz bottle is ideal for creating a visually appealing lava lamp.
Vegetable oil is the best choice for this project because it's clear, inexpensive, and readily available. You'll need enough oil to fill about 2/3 of the bottle.
Food coloring adds vibrant hues to your lava lamp. Choose a color that contrasts well with the clear liquids, such as red, blue, or green.
An Alka-Seltzer tablet provides the chemical reaction that makes the lava lamp work. The tablet releases carbon dioxide gas when it comes into contact with water, causing the colored water droplets to rise and fall through the oil.
Gather all these materials in one place before you start the project to guarantee a smooth and enjoyable lava lamp-making experience.
Mix Water and Food Coloring
First, choose your desired food coloring for the lava lamp.
Next, fill a glass or plastic bottle about 3/4 full with water, and add a few drops of the food coloring.
Gently mix the water until the food coloring is evenly distributed.
Choose Desired Color
You'll need to choose your desired lava lamp color and mix it with water. Consider the ambiance you want to create with your lava lamp. Bright, vibrant colors like red, blue, or green can energize a room, while softer hues like purple or pink can create a calming atmosphere. You can also mix colors to create unique shades.
Once you've selected your color, add a few drops of food coloring to the water. Start with a small amount and gradually add more until you achieve the desired intensity. Keep in mind that the color will appear lighter when the lamp is lit, so you may want to make it slightly darker than your intended shade.
Stir the water and food coloring mixture thoroughly to guarantee even distribution. If you're using multiple colors, be careful not to overmix them, as this can result in a muddy appearance.
Aim for a swirling, marbled effect for a visually appealing lava lamp.
Add to Water
To create the colored water for your lava lamp, pour the water into a clear container, such as a measuring cup or bowl.
Carefully add 10 to 20 drops of your chosen food coloring, depending on the desired intensity. Use a spoon or stirrer to thoroughly mix the water and food coloring until you achieve a uniform hue. If you'd like a more vibrant color, add a few extra drops, but be cautious not to overdo it.
Once you're satisfied with the color, it's time to transfer the mixture to your lava lamp bottle.
Slowly pour the colored water into the bottle, ensuring that you don't splash or spill any of the liquid. Fill the bottle about two-thirds to three-quarters full, leaving enough room for the oil and the lava lamp effect to occur.
If you accidentally pour too much water, you can use a turkey baster or a small cup to remove the excess.
With the colored water now in the bottle, you're ready to move on to the next step in creating your mesmerizing lava lamp.
Add Oil
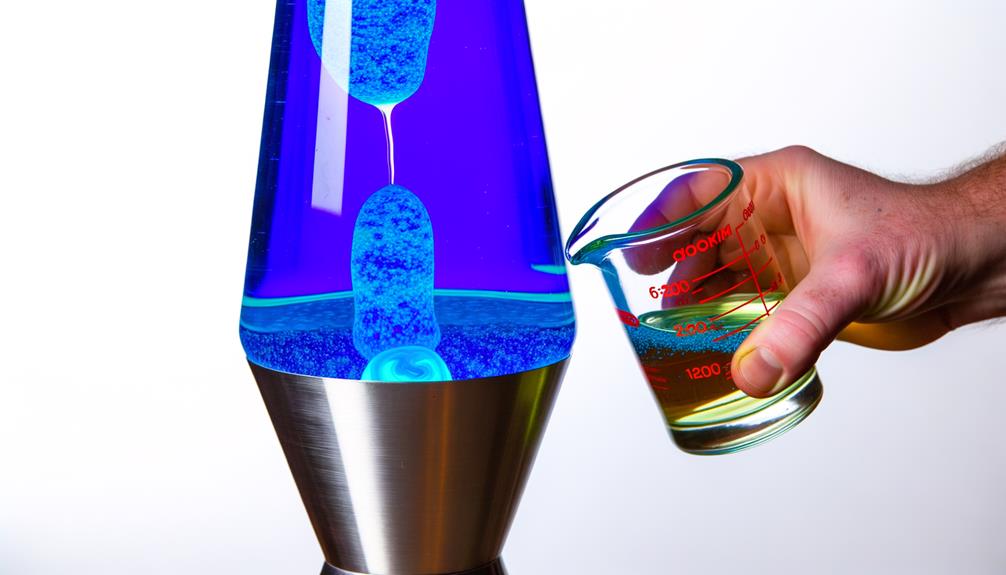
Pour about 1/4 cup of oil into the bottle. You can use any type of light cooking oil, such as vegetable or canola oil.
The oil should sit on top of the water because it's less dense. If you don't have a measuring cup, simply pour the oil until it fills about one-third of the bottle.
Observe how the oil and water don't mix. They remain as separate layers due to their different densities. This is a key principle in creating a lava lamp effect.
At this point, you can add a few drops of food coloring to the bottle. The food coloring will sink through the oil layer and mix with the water below.
Choose any color you like, or experiment with multiple colors for a unique effect.
Next, break an effervescent tablet, such as Alka-Seltzer, into a few small pieces. Drop one piece into the bottle and watch as the chemical reaction begins.
The tablet will react with the water, creating bubbles that rise through the oil layer, carrying the colored water with them. This creates the mesmerizing lava lamp effect.
Create the Lava Effect
Drop a small piece of the effervescent tablet into the bottle and watch the magic happen. As the tablet dissolves, it'll release carbon dioxide gas, which attaches to the water droplets. This makes them less dense than the surrounding oil, causing them to float upwards.
When the gas escapes at the top, the water sinks back down, creating a mesmerizing lava-like effect.
To enhance your lava lamp experience:
- Experiment with different colors by adding food coloring to the water.
- Try using various sizes of effervescent tablet pieces to control the speed and size of the "lava" blobs.
- Place a flashlight or LED light beneath the bottle to illuminate the hypnotic display.
The key to creating a stunning lava lamp effect lies in the density difference between the water and oil. The effervescent tablet provides the catalyst for the movement, while the colored water adds visual appeal.
With a little experimentation, you'll be able to fine-tune your lava lamp to create an enchanting display that'll leave you and your friends in awe of this simple yet fascinating science experiment.
Seal the Bottle
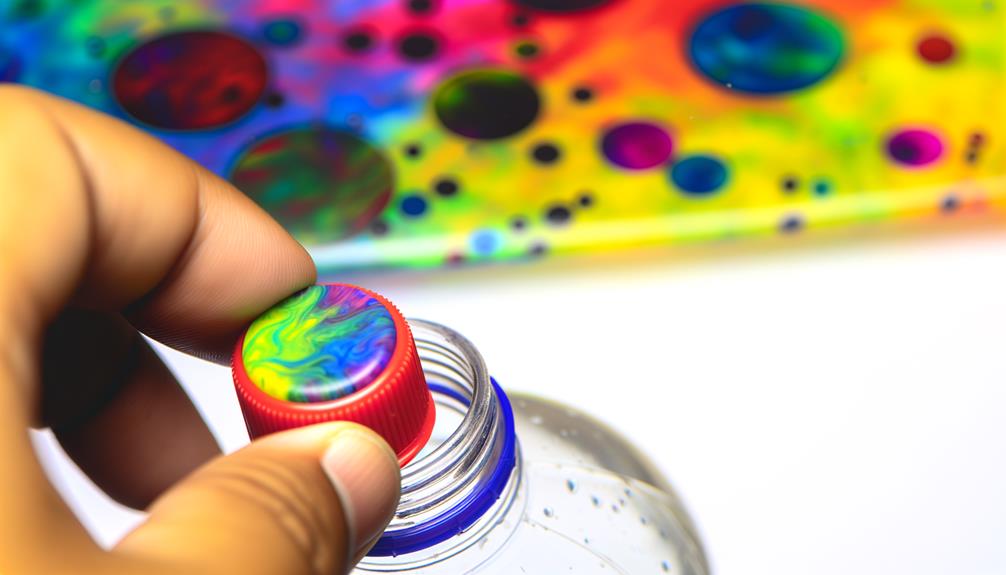
Once you've finished creating the lava effect, it's time to seal the bottle.
Tighten the cap securely onto the bottle, making sure it's not cross-threaded.
Double-check for any leaks by turning the bottle upside down and watching for any liquid escaping.
Tighten Cap Securely
Why risk a leaky lava lamp? Once you've added all the ingredients to your bottle, it's vital to tighten the cap securely to prevent any spills or leaks. A properly sealed bottle guarantees that your lava lamp will function as intended, providing hours of mesmerizing entertainment.
When tightening the cap, keep these tips in mind:
- Use a bottle with a tight-fitting, leak-proof cap
- Confirm the bottle's neck and cap threads are clean and dry
- Twist the cap firmly, applying even pressure to create a secure seal
Double-check that the cap is tightly closed by gently turning it counterclockwise. If it doesn't budge, you've successfully sealed your lava lamp.
In the event that the cap feels loose or you notice any leaks, carefully remove the cap, clean the threads, and try again. A well-sealed bottle is essential for the proper function and longevity of your homemade lava lamp.
With a securely tightened cap, you're one step closer to enjoying the enchanting display of colorful, bubbling "lava" in your very own DIY creation.
Double-Check for Leaks
After tightening the cap, it's vital to double-check your lava lamp bottle for any potential leaks.
Hold the bottle upside down over a sink or bowl for a minute to see if any liquid escapes. If you notice any drips or leaks, you'll need to re-seal the bottle more securely.
Ensure the cap is screwed on tightly and that the seal is properly aligned. If the leak persists, try using a different cap or bottle. It's important to have a completely leak-proof container to prevent any mess or damage to your surroundings.
Once you've confirmed that your lava lamp is leak-free, you can proceed to the next step.
If you're satisfied with the seal, give the bottle a gentle shake to observe the interaction between the oil and water. The densities of the two liquids should cause them to separate, creating the mesmerizing lava lamp effect.
Illuminate Your Lava Lamp
A few simple steps will bring your lava lamp to life with a stunning glow. First, find a suitable light source, such as a small LED light or a battery-operated tea light candle. Place the light source underneath the lava lamp bottle, making sure it's centered and stable. If you're using a plug-in light, verify that the cord is safely positioned and not a tripping hazard.
When choosing a light source for your lava lamp, consider these factors:
- Brightness: Confirm the light is bright enough to illuminate the lava lamp effectively.
- Size: Choose a light source that fits comfortably under the bottle without causing instability.
- Heat: Avoid using high-heat light sources, as they may damage the bottle or cause the lava to move too quickly.
Once your light source is in place, switch it on and marvel at the stunning display of color and motion within your DIY lava lamp. The light will illuminate the liquid and wax, creating a fascinating visual effect that's perfect for relaxation or as a unique decorative piece in your room.
Experiment and Customize
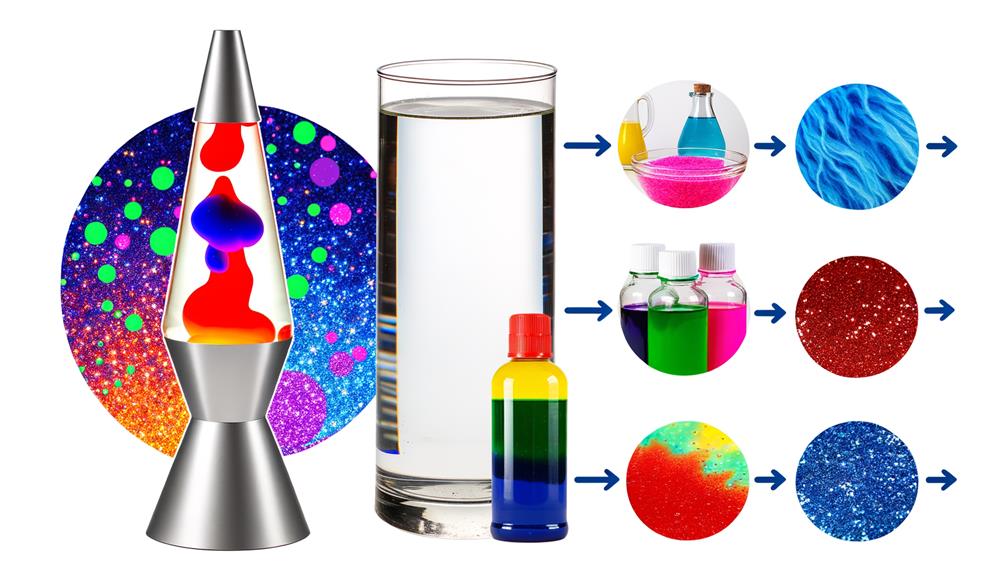
Experimenting with your DIY lava lamp is half the fun! Once you've mastered the basic recipe, it's time to customize and create your own unique designs.
Try using different colors of food coloring to create a vibrant, multi-hued lamp. You can also experiment with the amount of water and oil to alter the size and speed of the "lava" blobs.
For a more dramatic effect, consider adding glitter or small beads to the mixture. These will catch the light and add an extra layer of visual interest.
Another option is to use a shaped bottle, such as a heart or star, to give your lava lamp a distinctive look.
Don't be afraid to get creative and try out different combinations. Keep a record of your experiments so you can replicate your favorite designs.
With a little imagination and some trial and error, you'll soon have a collection of one-of-a-kind lava lamps that reflect your personal style.
Frequently Asked Questions
Is It Safe to Use Any Type of Oil?
For your safety, stick to using vegetable or mineral oil. Avoid oils with low smoke points or unknown ingredients. Always handle the oil carefully and clean up any spills immediately to prevent accidents.
Can I Use a Plastic Bottle Instead of Glass?
You can use a plastic bottle instead of glass, but it's not recommended. Plastic can melt or release chemicals when exposed to heat, which is necessary for the lava lamp effect. Stick with glass for safety.
How Long Will the Lava Lamp Effect Last?
The lava lamp effect can last for several hours, but it'll gradually slow down as the reaction weakens. You can extend the effect by adding more salt or Alka-Seltzer tablets when needed.
Can I Use Baking Soda Instead of Alka-Seltzer?
You can use baking soda instead of Alka-Seltzer, but you'll need to add vinegar to create the reaction. It won't last as long or be as impressive as using Alka-Seltzer tablets, though.
Is It Possible to Create a Larger Lava Lamp?
Sure, you can create a larger lava lamp by using a bigger bottle or container, increasing the amounts of water, oil, and Alka-Seltzer. Just make sure to maintain the proper ratio between ingredients.
Conclusion
You've just created your very own lava lamp! It's a fun, easy science experiment that's perfect for rainy days or anytime you want to explore the fascinating world of density and immiscibility. Don't be afraid to experiment with different colors, oil types, and additives to create your own unique lava lamp designs. With a little creativity and curiosity, you'll be amazed at the mesmerizing, colorful displays you can create in a bottle.

Leave a Reply