Spark your child's curiosity with these 10 hands-on science projects using everyday household items! You'll explore density and chemical reactions with a Rainbow in a Jar, Baking Soda Volcano, and DIY Lava Lamp. Encourage creative communication through Invisible Ink Messages. Observe crystal growth in a jar. Take on engineering challenges by building a Balloon-Powered Car and an Egg Drop container. Learn about renewable energy with a Homemade Solar Oven. Set up a Backyard Weather Station to study environmental science. These engaging projects will ignite a love for learning and discovery in your young scientist. Let's plunge into the details!
Rainbow in a Jar
One fun science project that kids love is creating a rainbow in a jar. You'll need a clear jar, honey, light corn syrup, dish soap, water, rubbing alcohol, and food coloring.
Pour the honey into the jar, followed by the corn syrup. Add a layer of dish soap, then carefully pour water over the back of a spoon to avoid disturbing the layers. Next, add rubbing alcohol using the same method.
Now, add drops of red food coloring to the rubbing alcohol layer, followed by yellow to the dish soap layer, green to the water layer, blue to the corn syrup layer, and purple to the honey layer. Watch as the colors slowly mix, creating a beautiful rainbow effect.
This project teaches kids about density and how liquids with different densities don't mix easily. It's a great way to introduce scientific concepts while engaging their curiosity and creativity.
Encourage them to experiment with different liquids and colors to see how the results vary. With this hands-on activity, they'll develop a deeper understanding of the world around them.
Baking Soda Volcano
Building a baking soda volcano is another classic science project that's sure to captivate kids. You'll need a plastic bottle, baking soda, vinegar, dish soap, and food coloring.
First, place the bottle in a baking pan or tray to catch the "lava." Mix a few spoonfuls of baking soda with a squirt of dish soap and a few drops of food coloring in the bottle. When you're ready for the eruption, pour in some vinegar and watch the chemical reaction unfold!
This project demonstrates the exciting reaction between an acid (vinegar) and a base (baking soda). The dish soap helps trap the gas produced, creating an impressive foamy "lava" flow.
Encourage kids to experiment with different amounts of ingredients to see how it affects the eruption. You can also discuss real-world volcanoes and the science behind them.
This hands-on activity isn't only entertaining but also teaches children about chemical reactions and the properties of different substances. It's a fantastic way to spark their interest in science and encourage them to ask questions and make observations.
Invisible Ink Messages
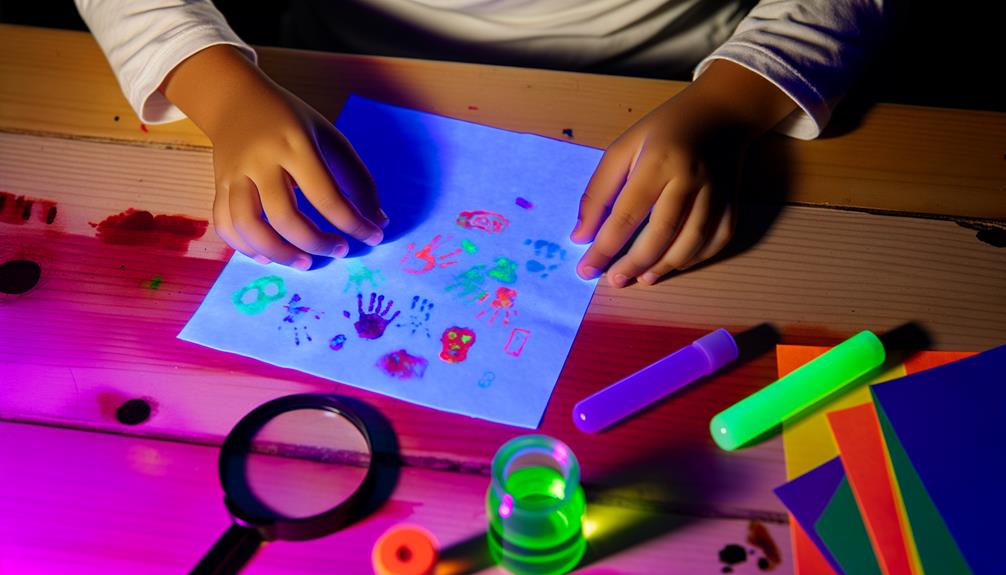
Create secret messages with invisible ink using common household items like lemon juice or milk. It's a fun way to explore the science behind how acids and bases interact with paper.
Here's what you'll need:
- Lemon juice or milk
- Cotton swabs or a small paintbrush
- White paper
- A heat source, such as a light bulb or sunlight
Dip the cotton swab or paintbrush into the lemon juice or milk, and write your message on the white paper. Allow the ink to dry completely, which should only take a few minutes.
To reveal the hidden message, hold the paper up to a heat source. The heat will cause a chemical reaction between the acid in the lemon juice or the protein in the milk and the paper, turning the invisible ink brown and making your message visible.
Experiment with different types of paper and invisible ink solutions to see which combination works best. You can also try using different heat sources to reveal the message, such as an iron or a hair dryer.
Have fun creating and decoding your own secret messages!
Growing Crystal Gardens
To grow your own crystal gardens, you'll need a few household items.
Follow the step-by-step instructions to create a dazzling display of colorful crystals.
Once you've mastered the basic technique, experiment further by trying different materials and varying the conditions to see how they affect crystal growth.
Materials Needed
You'll need just a few common household items to grow your own crystal gardens. Gather the following supplies:
- A glass jar or container
- Water
- Ammonia (found in many household cleaners)
- Liquid bluing (used for whitening laundry)
- Table salt
- Food coloring (optional)
- A sponge or porous rock
The size of your container will determine the amount of each ingredient you'll need. As a general rule, use equal parts water and ammonia, and add a few drops of liquid bluing and a tablespoon of salt per cup of liquid.
Experiment with different proportions to create unique crystal formations.
Choose a location for your crystal garden that won't be disturbed, as the growing process can take several days. Cut the sponge to fit your container, or select a porous rock that will provide a surface for the crystals to grow on.
If desired, add a few drops of food coloring to the liquid mixture for a colorful effect. Pour the solution into the container, place the sponge or rock inside, and watch as the crystals begin to form over time.
Step-by-Step Instructions
With your materials ready, it's time to create your own enchanting crystal gardens. First, cut the sponge into small pieces and place them in the glass container.
Next, mix the water and liquid bluing in a separate bowl until well combined. In another bowl, dissolve the salt in the boiling water, stirring until no more salt will dissolve.
Let the salt solution cool slightly, then pour it over the sponge pieces in the glass container.
Now, add a few drops of food coloring to the sponge pieces, creating a vibrant base for your crystal garden. Place the container in a cool, undisturbed location and wait for the magic to happen.
Over the next few days, you'll see stunning crystals begin to grow on the sponge pieces, creating a unique and colorful display.
Remember to observe your crystal garden daily and record any changes you notice. Once the water has evaporated, carefully remove your crystal-covered sponge pieces and admire your handiwork.
Experiment with different colors and sponge shapes to create a variety of enchanting crystal gardens that showcase the beauty of science!
Experimenting Further
Now that you've mastered the basic technique, it's time to take your crystal garden experiments to the next level. Consider these variations to further explore the fascinating world of crystal formation:
- Experiment with different substances, such as Epsom salt, borax, or sugar, to create a variety of crystal shapes and colors.
- Adjust the concentration of your solution to observe how it affects crystal growth rate and size.
- Introduce food coloring or liquid watercolors to create vibrant, multicolored crystal gardens.
- Try growing crystals on various objects, like seashells, rocks, or pipe cleaners, to create unique sculptures.
As you dive deeper into crystal gardening, encourage your child to make predictions, record observations, and draw conclusions based on their findings.
Discussing the results together can help develop critical thinking skills and foster a love for scientific exploration.
Remember to supervise your child during these experiments and provide guidance when needed.
With a little creativity and curiosity, the possibilities for crystal gardening are endless!
DIY Lava Lamp
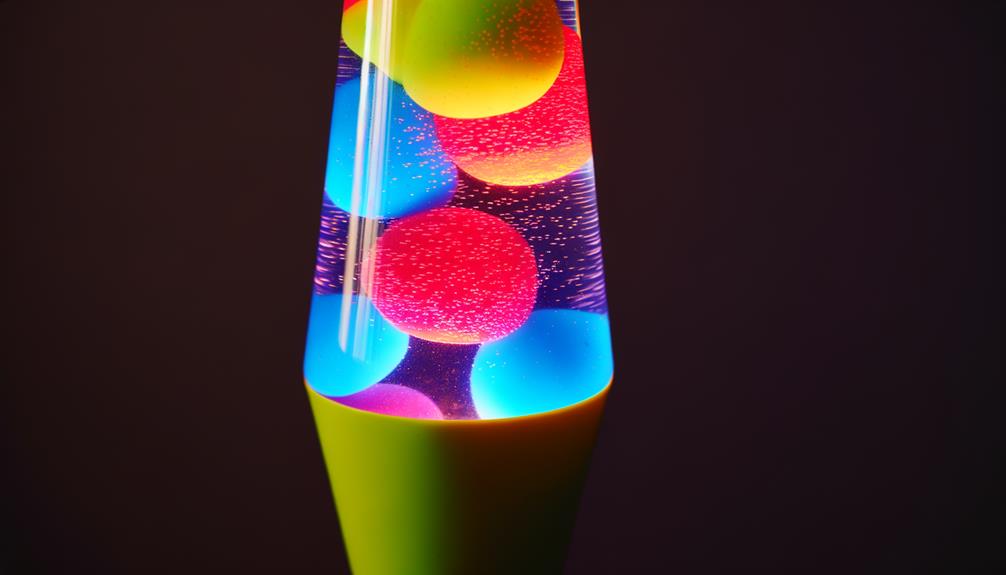
Creating your own lava lamp is a fun and easy science project that mesmerizes kids and adults alike.
You'll need a clear plastic bottle, water, vegetable oil, food coloring, and an effervescent tablet like Alka-Seltzer.
Fill the bottle about 1/4 full with water, then add vegetable oil until the bottle is almost full, leaving some space at the top.
Add a few drops of your favorite food coloring to the mixture.
Break an effervescent tablet into smaller pieces and drop one piece into the bottle.
Watch as the colored water bubbles up through the oil, creating a lava lamp effect.
As the tablet dissolves, the water will sink back to the bottom.
You can keep the lamp going by adding more tablet pieces.
Experiment with different colors and oil-to-water ratios to create unique designs.
This project demonstrates the concept of density, as the water and oil don't mix due to their different densities.
The effervescent tablet releases carbon dioxide gas, which attaches to the colored water droplets, causing them to rise through the oil before sinking back down.
Magnetic Slime
To make your own magnetic slime, you'll need a few key materials, including white glue, liquid starch, iron oxide powder, and a strong neodymium magnet.
Once you've gathered your supplies, follow the step-by-step instructions to create this fascinating substance.
Get ready to be amazed as you explore the unique properties of magnetic slime!
Materials Needed
Gather these items to create your own mesmerizing magnetic slime at home:
- White school glue (about 1/2 cup)
- Liquid starch (about 1/4 cup)
- Iron oxide powder (about 2 tablespoons)
- A neodymium magnet
- Food coloring (optional)
You'll also need a mixing bowl, a spoon, and a sealable container for storage. Iron oxide powder can be found at some craft stores or online. It's the key ingredient that makes the slime magnetic.
When measuring the ingredients, start with less liquid starch and add more as needed. The exact amounts may vary depending on the brand of glue you use. If you want to add color to your slime, a few drops of food coloring will do the trick.
Make sure to work on a protected surface, as the iron oxide powder can stain. Adult supervision is recommended when handling the neodymium magnet, as it's incredibly strong and can cause injury if mishandled.
With these materials ready, you're all set to create your own fascinating magnetic slime!
Step-by-Step Instructions
Now that you have all the materials ready, let's plunge into the step-by-step process of creating your own magnetic slime.
In a bowl, mix 1/4 cup of liquid starch with 2 tablespoons of iron oxide powder until well combined.
In a separate bowl, pour 1/4 cup of white school glue. Add a few drops of food coloring to the glue and stir until you achieve your desired color.
Gradually add the iron oxide mixture to the glue, stirring constantly. As the slime forms, knead it with your hands until it's no longer sticky.
If it's too sticky, add a bit more liquid starch; if it's too runny, add more glue.
Once your magnetic slime is ready, place a strong magnet near it and watch as the slime is attracted to the magnetic force!
Experiment with different magnets and observe how the slime reacts.
Store your magnetic slime in an airtight container when not in use to prevent it from drying out.
Have fun exploring the fascinating world of magnetism with your homemade magnetic slime!
Balloon-Powered Car
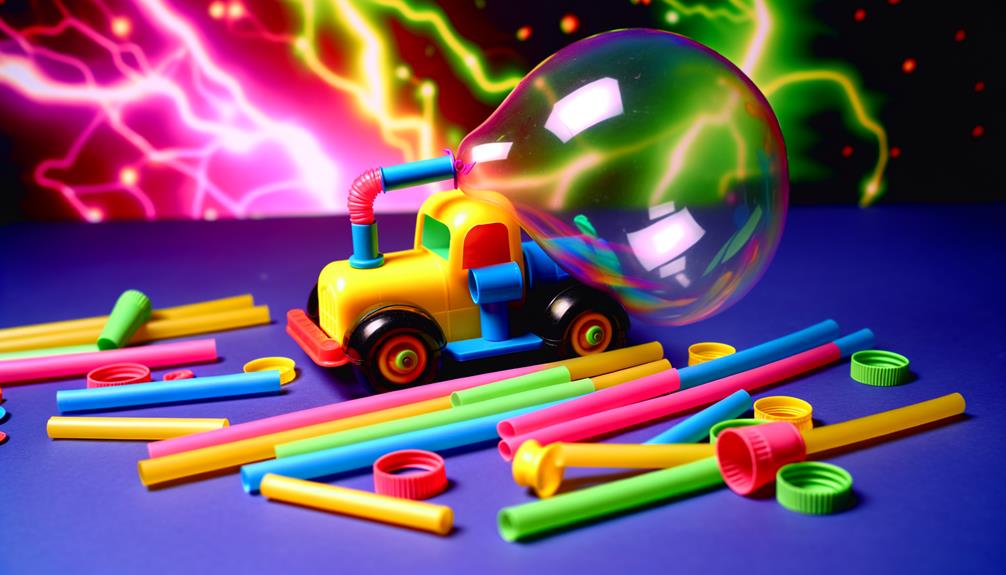
Building a balloon-powered car is an exciting hands-on project that demonstrates Newton's Third Law of Motion. As the air rushes out of the balloon, it propels the car forward, showing that for every action, there's an equal and opposite reaction.
Here's what you'll need:
- A plastic water bottle
- Four plastic bottle caps
- Two straws
- A balloon
- Tape
- Scissors
First, cut the water bottle in half lengthwise and tape the two straws to the cut edges, forming the car's axles. Push a bottle cap onto each end of the straws to create the wheels.
Next, blow up the balloon and twist the end to keep the air inside. Tape the balloon to the top of the car, with the opening facing the back.
Finally, place the car on a flat surface, untwist the balloon, and watch as it zooms forward!
Experiment with different sizes of balloons, the amount of air in the balloon, and the placement of the axles to see how these factors affect the car's performance. Have fun exploring the principles of motion with your balloon-powered car!
Egg Drop Challenge
Get ready to put your engineering skills to the test with the classic Egg Drop Challenge! Your goal is to create a protective container that keeps a raw egg intact when dropped from a height. Gather materials like cardboard, straws, tape, and cushioning items. Design and construct your egg carrier, considering factors like impact absorption and weight distribution.
| Materials | Construction | Testing |
|---|---|---|
| Cardboard | Tape | Drop |
| Straws | Glue | Inspect |
| Padding | Scissors | Repeat |
Once your contraption is ready, it's time for the exciting drop test! Find a safe, elevated spot and let your egg carrier take the plunge. After the drop, carefully examine the egg to see if it survived the fall unscathed. Analyze the results and make adjustments to improve your design. This hands-on project encourages problem-solving, creativity, and perseverance. You'll learn about physics concepts like acceleration, force, and impact while having a blast. So, grab your supplies and let the Egg Drop Challenge begin!
Homemade Solar Oven
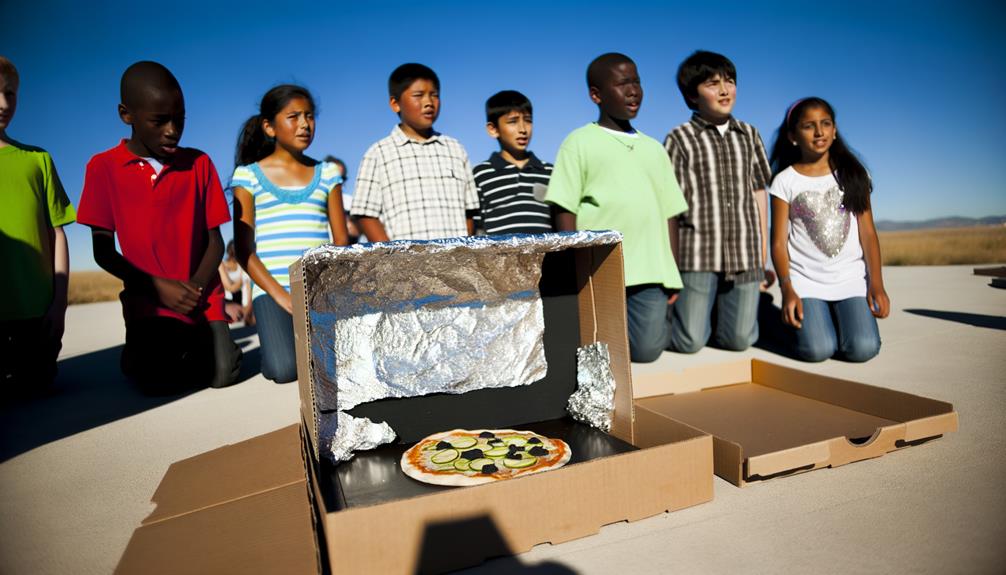
Harness the power of the sun and cook up a tasty treat with a Homemade Solar Oven!
You'll need a pizza box, aluminum foil, clear plastic wrap, black construction paper, and tape. Line the inside of the box's lid with foil, shiny side out. Cut a flap in the lid, leaving a 1-inch border, and cover the flap's opening with plastic wrap. Place black paper on the box's bottom to absorb heat.
To use your solar oven:
- Choose a sunny spot and angle the flap toward the sun
- Place your food on the black paper and close the lid
- Adjust the flap every 30 minutes to follow the sun
- Check your food after an hour or two
Your solar oven can reach temperatures of 200°F, perfect for melting s'mores or nachos.
Experiment with different recipes and cooking times. This eco-friendly project teaches about renewable energy and the greenhouse effect. Plus, it's a fun way to enjoy a sunny day and a tasty snack!
Backyard Weather Station
Discover the secrets of the sky with your very own Backyard Weather Station!
You'll need a thermometer, a rain gauge, a wind vane, and a barometer. Start by setting up your thermometer in a shaded area to measure the air temperature. Next, place your rain gauge in an open spot to catch any precipitation. To track wind direction, install a wind vane on a pole or fence. Finally, hang a barometer to measure atmospheric pressure.
Record your observations daily in a weather journal. Note the temperature, rainfall, wind direction, and barometric pressure. Over time, you'll start to see patterns emerge. Compare your findings with official weather reports to see how accurate your measurements are.
Building a Backyard Weather Station is a great way to learn about meteorology and the factors that influence our daily weather.
You'll gain a deeper understanding of the environment around you and develop skills in data collection and analysis. Plus, you'll be able to impress your friends and family with your own weather forecasts!
Frequently Asked Questions
How Can I Make the Projects Safer for Younger Children?
You can make projects safer for younger children by using non-toxic materials, providing close supervision, choosing age-appropriate activities, and demonstrating proper safety procedures. Simplify steps when needed and always prioritize their well-being.
What Are Some Alternative Materials That Can Be Used for These Projects?
You can use everyday items like baking soda, vinegar, food coloring, and cornstarch for safe science projects. Instead of glass jars, try plastic containers. Swap sharp tools for kid-friendly alternatives like plastic knives or popsicle sticks.
How Can I Adapt These Projects for a Classroom Setting?
To adapt projects for a classroom, you'll need to evaluate safety, supplies, and group sizes. Break students into small teams, provide clear instructions, and have them share results. Adjust projects based on your class's needs.
Are There Any Projects Suitable for Children With Sensory Processing Issues?
You can adapt projects for children with sensory processing issues by using gentle textures, avoiding strong smells, and providing clear instructions. Opt for low-mess activities and allow breaks as needed to prevent overstimulation.
What Are Some Ways to Extend Learning After Completing These Projects?
You can deepen their understanding through related books and videos. Have them make observations and ask questions. Encourage them to design follow-up experiments. They'll build critical thinking skills while staying curious.
Conclusion
You've got a fantastic opportunity to inspire a lifelong love of science in your kids! These hands-on projects are just the beginning of an exciting journey of discovery. Don't be afraid to get creative and come up with your own experiments. The most important thing is to have fun and keep asking questions. With a little curiosity and imagination, there's no limit to what you and your kids can learn together!


Leave a Reply