Turn your kitchen into a science lab with these six tasty experiments! Explore pH levels by creating a rainbow cabbage indicator. Discover the physics behind homemade ice cream. Observe fermentation in action with a yeast-powered balloon. Investigate osmosis using eggs. Uncover the secrets of chromatography with candy. And grow your own edible crystals. These hands-on activities engage scientific inquiry while promoting understanding of chemistry, physics, and biology concepts. You'll foster creativity, patience, and observation skills as you transform everyday ingredients into exciting learning opportunities. Keep reading to find out how you can get started on these delicious science adventures.
Rainbow Cabbage Ph Indicator
You'll need just a few ingredients to create a vibrant rainbow of colors using red cabbage as a ph indicator. Chop up some red cabbage and boil it in water for about 10 minutes. Strain out the cabbage, and you'll have a purple liquid. This purple liquid changes color when mixed with acids or bases due to a type of molecule called anthocyanin.
Prepare several clear glasses or jars, and pour a small amount of your cabbage indicator into each. Now, add various household substances to each glass, such as lemon juice, baking soda solution, vinegar, or soap solution. Watch as the liquids change color! Acids like lemon juice or vinegar will turn the indicator a reddish-pink color, while bases like baking soda or soap solution will turn it blue or green.
You can create an entire rainbow of colors by testing different substances and mixing them in varying proportions. Try experimenting with other acidic or basic ingredients to see what colors you can create.
This simple experiment is a fun, visual way to explore the ph scale and acid-base chemistry using items from your kitchen.
Homemade Ice Cream Physics
Making your own ice cream isn't only a tasty treat but also a lesson in physics! When you shake a mixture of cream, sugar, and flavorings in a bag surrounded by ice and salt, you're witnessing a process called freezing point depression. The salt lowers the freezing point of the ice, allowing it to absorb more heat from the cream mixture. As the mixture loses heat, it begins to freeze, forming ice cream.
Meanwhile, the shaking motion introduces air into the mixture, which helps create a smooth, creamy texture. The constant agitation also prevents large ice crystals from forming, ensuring a more enjoyable ice cream experience.
As you shake the bag, you're fundamentally doing work, transferring energy to the mixture and facilitating the freezing process.
Next time you make homemade ice cream, take a moment to appreciate the fascinating physics at play. Not only will you end up with a delicious treat, but you'll also have gained a deeper understanding of the science behind this beloved frozen dessert.
Yeast-Powered Balloon Fermentation

Exploring the world of microorganisms has never been more exciting than with this simple, hands-on experiment.
You'll witness the power of yeast, a tiny fungus that loves to feast on sugar, creating carbon dioxide gas as a byproduct. This gas will inflate a balloon right before your eyes!
Here's what you'll need:
- A small plastic bottle
- A packet of dry yeast
- Sugar
- Warm water
- A balloon
Mix the yeast and sugar in the bottle, add warm water, and quickly stretch the balloon over the bottle's mouth. As the yeast consumes the sugar, it'll release carbon dioxide, causing the balloon to inflate gradually.
This process, called fermentation, is the same one used to make bread rise and create carbonation in beer and soda.
By experimenting with different amounts of yeast, sugar, and water temperature, you can observe how these factors affect the rate of fermentation.
Get ready to be amazed by the hidden world of microbes and their incredible abilities!
Egg-citing Osmosis Experiment
To conduct the egg-citing osmosis experiment, you'll need a few simple materials: a raw egg, white vinegar, a clear glass or jar, corn syrup, and water.
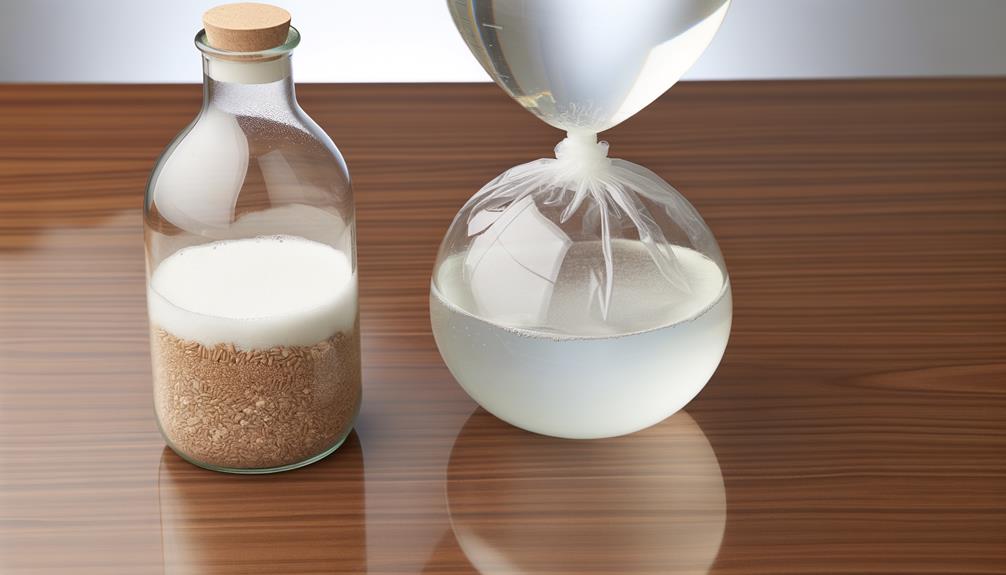
First, soak the egg in white vinegar for 24-48 hours to dissolve the shell, leaving the inner semi-permeable membrane intact.
Next, follow these step-by-step instructions to observe osmosis in action as water moves in and out of the egg.
Materials Needed
You'll need just a few items for this egg-citing osmosis experiment. Gather these materials:
- 3 raw eggs
- White vinegar
- 3 clear glasses or jars
- Water
- Corn syrup
- Food coloring (optional)
First, carefully place each egg into a glass or jar. Pour enough white vinegar into each container to completely submerge the eggs.
Let them soak for 24-48 hours. The eggshells will dissolve, leaving behind the egg's membrane.
Remove the eggs from the vinegar and gently rinse them with water. Now, you'll prepare three different solutions for your eggs:
- Fill one glass with plain water.
- In another glass, mix equal parts water and corn syrup.
- For the third glass, use pure corn syrup.
If desired, add a drop of food coloring to each solution for better visibility.
Gently place one egg into each glass, ensuring they're completely submerged. Observe the eggs over the next 24 hours and note any changes in their size or appearance.
This experiment demonstrates how osmosis affects cells in different concentrations of solutions.
Procedure Explanation
Let's plunge into the science behind this egg-citing osmosis experiment! Osmosis is the movement of water molecules across a semipermeable membrane from a region of high water concentration to a region of low water concentration.
In this experiment, the eggshell acts as the semipermeable membrane, and the vinegar dissolves the calcium carbonate in the shell, making it more permeable.
When you submerge the egg in corn syrup, which has a lower water concentration than the egg, water molecules move out of the egg and into the syrup, causing the egg to shrivel up.
Conversely, when you place the egg in water, which has a higher water concentration than the egg, water molecules move into the egg, making it swell up and become firm.
This experiment demonstrates the principles of osmosis in a fun and engaging way, using everyday materials found in your kitchen.
It's a great way to introduce the concept of osmosis to kids and spark their curiosity about the world of science. So, grab your supplies and get ready to explore the wonders of osmosis!
Candy Chromatography Adventure

Candy chromatography is a fun and engaging experiment that explores the science behind food coloring. You'll be amazed to discover the hidden colors within your favorite candies.
To begin, gather these materials:
- Coffee filters or chromatography paper
- Water
- Various colored candies (M&Ms, Skittles, or Jolly Ranchers)
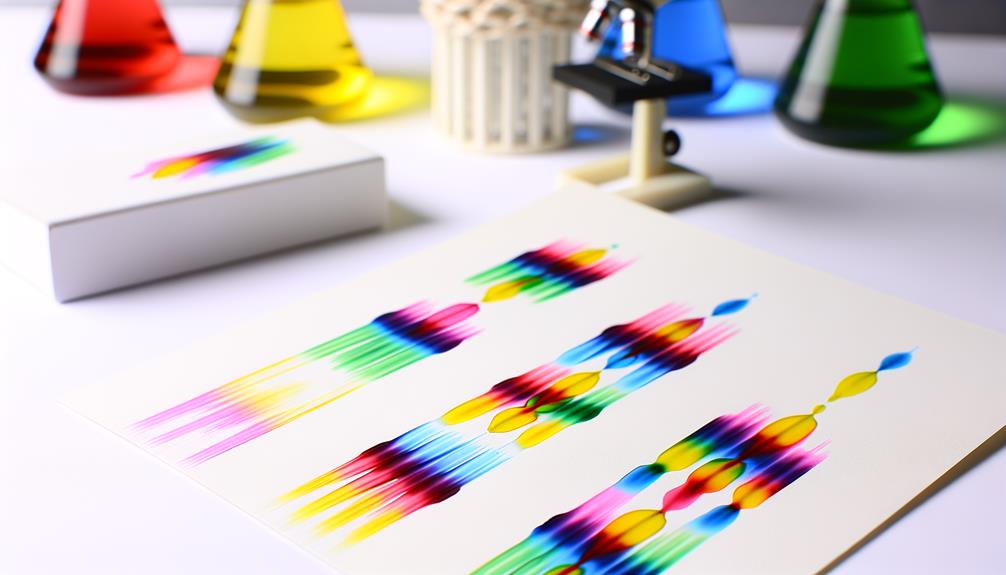
Start by placing a candy on the filter paper and adding a drop of water. Watch as the colors separate and travel up the paper, revealing the individual dyes used in the candy's coating.
The water carries the dyes at different rates, creating a unique pattern for each candy. Try using different brands and compare the results. You'll be surprised to find that some candies share similar dye components, while others have distinct color combinations.
This experiment demonstrates the principles of chromatography, a technique used by scientists to separate and identify compounds in mixtures. By exploring the world of food coloring, you'll gain a deeper appreciation for the science behind the treats you enjoy and the complex processes involved in creating their vibrant hues.
Edible Crystal Creations
You can create your own edible crystals at home using simple ingredients like sugar or borax.
For a sweet treat, try making rock candy by suspending a string or stick in a supersaturated sugar solution.
If you're feeling more adventurous, use borax to grow stunning geode-like crystals that are safe to handle but not to eat.
Sugar Rock Candy
Discover the sweet science behind sugar crystallization by creating your own edible rock candy! This classic experiment demonstrates the fascinating process of crystal formation using just a few simple ingredients. You'll need:
- Sugar
- Water
- Food coloring (optional)
- A glass jar
- A wooden skewer or string
Begin by making a supersaturated sugar solution by dissolving as much sugar as possible in boiling water.
Pour the solution into the jar and add a few drops of food coloring if desired.
Tie the skewer or string to a pencil and suspend it in the jar, ensuring it doesn't touch the bottom or sides.
Place the jar in a cool, undisturbed location and wait patiently for the magic to happen.
Over the next week, you'll witness the gradual formation of sugar crystals along the skewer or string.
As the water evaporates, the sugar molecules will cling to the surface, creating a mesmerizing display of edible rock candy.
Once the crystals have reached your desired size, remove the skewer or string and enjoy the sweet fruits of your scientific labor!
Borax Geode Crystals
Alongside the sweet allure of sugar rock candy, you can create stunning edible geodes using borax crystals. This experiment showcases the beauty of crystallization while demonstrating the principles of supersaturation and nucleation. You'll need borax, boiling water, food coloring, and eggshells or small containers to act as geode molds.
| Step | Description | Time |
|---|---|---|
| 1 | Dissolve borax in boiling water until no more can be dissolved. | 5 min |
| 2 | Add food coloring to the solution and pour it into the geode molds. | 2 min |
| 3 | Let the solution cool and crystals form overnight. | 12-24 hrs |
| 4 | Remove the crystals from the molds and marvel at your edible geodes! | 5 min |
The key to growing large, well-defined crystals lies in creating a supersaturated solution and providing a surface for the crystals to grow on. As the solution cools, borax molecules will attach to the eggshell or container surface, forming a lattice structure that grows into beautiful, colorful crystals. Experiment with different colors and mold shapes to create a variety of stunning edible geodes!
Frequently Asked Questions
How Does Ph Affect the Color of the Cabbage Indicator?
You'll observe the cabbage indicator changing color based on the pH of the solution. Acidic solutions turn it pink, while basic solutions make it blue or green. Neutral pH maintains the original purple hue.
What Is the Science Behind the Freezing Point of Ice Cream?
To make ice cream, you lower the freezing point of milk by adding sugar and flavoring. Churning incorporates air and prevents large ice crystals. The result is a smooth, creamy frozen treat.
Can Other Sugary Substances Be Used to Fuel the Yeast in the Balloon Experiment?
You can use other sugary substances like honey, molasses, or even fruit juice to fuel the yeast in the balloon experiment. They'll provide the necessary sugars for the yeast to consume and produce carbon dioxide.
How Does the Concentration of the Solution Affect Osmosis in the Egg Experiment?
The higher the solution's concentration compared to the egg's interior, the more water will leave the egg via osmosis. Conversely, if the solution is less concentrated, water will enter, causing the egg to swell.
What Other Substances Can Be Used for Chromatography Besides Candy?
You can use various substances for chromatography, such as plant pigments from leaves or flowers, food coloring, markers, and ink. Try experimenting with different materials to see how their components separate on the paper.
Conclusion
You've seen how everyday foods can be transformed into enchanting science experiments. From exploring pH levels with cabbage to crafting edible crystals, you're now equipped with a delightful array of hands-on activities. These experiments aren't just fun; they're also educational, demonstrating key scientific concepts. So, next time you're in the kitchen, remember: you've got all the ingredients for an exciting science adventure. Grab your apron, put on your thinking cap, and let the tasty experiments begin!


Leave a Reply