Get ready to fizz, pop, and bubble your way through chemistry with 10 exciting experiments you can do at home! From creating your own lava lamp and concocting slime, to launching fizzy rockets and crafting color-changing cabbage juice, these hands-on activities will make science come alive. You'll also uncover the secrets of invisible ink, witness the wonders of elephant toothpaste, grow crystal gardens, and create enchanting milk art. And that's not all – you'll even make an egg bounce! These experiments are just the beginning of your journey into the enchanting world of chemistry.
Lava Lamp Magic
Lava lamps are a fun '60s throwback that you can easily make at home with a few common household ingredients. To create your own mesmerizing blob lamp, you'll need a clear glass jar or bottle, water, vegetable oil, food coloring, and an effervescent tablet like Alka-Seltzer.
First, fill the jar about three-quarters full with vegetable oil. Then, add water until the jar is nearly full, leaving a bit of space at the top. Add a few drops of your favorite food coloring to the water.
When you're ready to start the magic, break an effervescent tablet into smaller pieces and drop them into the jar one at a time.
Watch in awe as the colored water bubbles up through the oil, creating mesmerizing, lava-like blobs that sink back down when the bubbling stops. The science behind this experiment is simple: oil and water don't mix, and the gas released by the effervescent tablet is lighter than the liquids, causing it to rise to the top.
Experiment with different colors and oil-to-water ratios to create your own unique lava lamp designs!
Slime Time
You don't need borax to make slime – there are plenty of safe, borax-free recipes to try.
Let's explore the science behind how slime works and what to do if you run into issues.
We'll cover the most common problems and provide solutions to help you create the perfect slime every time.
Borax-Free Recipes
Creating slime is a fun and engaging activity that kids love, but many recipes call for borax, which can be harsh on sensitive skin.
Luckily, there are plenty of borax-free recipes that are just as stretchy and slimy. One easy recipe uses white glue, baking soda, and contact lens solution. Simply mix equal parts white glue and baking soda, then add contact lens solution until the slime forms.
Another recipe uses shampoo and cornstarch. Mix 1/2 cup of shampoo with 1/4 cup of cornstarch until a slime forms. You can even add food coloring for a pop of color.
For a fluffy slime, try mixing 1/2 cup of shaving cream with 1/4 cup of liquid starch. The result is a soft, stretchy slime that's perfect for sensory play.
Slime Science Explained
What's the science behind the stretchy, oozy fun of slime? It's all about the chemistry! When you mix the ingredients, such as PVA glue and borax or contact lens solution, a chemical reaction occurs. The borate ions in the solution cross-link with the PVA molecules, forming long polymer chains.
These chains can slide past each other, giving slime its fluid-like properties, but they also form weak hydrogen bonds, providing structure and elasticity.
The ratio of ingredients affects the slime's texture. More borax or contact lens solution leads to a firmer slime, while less results in a slimier consistency. Temperature also plays a role – heat can break the hydrogen bonds, making the slime more fluid, while cold can make it stiffer.
Experiment with different ratios and temperatures to create your perfect slime!
Slime is a non-Newtonian fluid, meaning its viscosity changes under stress. When you apply force, the polymer chains align and resist flow, making the slime feel solid. When the force is removed, the chains relax, and the slime flows like a liquid.
That's the science of slime!
Troubleshooting Common Issues
Despite the simple ingredients, making slime doesn't always go as planned. If your slime is too sticky, you may have added too much activator. To fix this, knead in a little more glue until you reach the desired consistency.
On the other hand, if your slime is too runny, you probably haven't added enough activator. Add small amounts of the activator solution, mixing thoroughly after each addition, until the slime forms.
If you find lumps in your slime, the activator wasn't mixed evenly. To resolve this, knead the slime vigorously to distribute the activator throughout the mixture.
If your slime is breaking apart, you may have used too much activator. Try adding a little more glue and kneading it in to restore the slime's stretchiness.
Fizzy Rocket Fuel
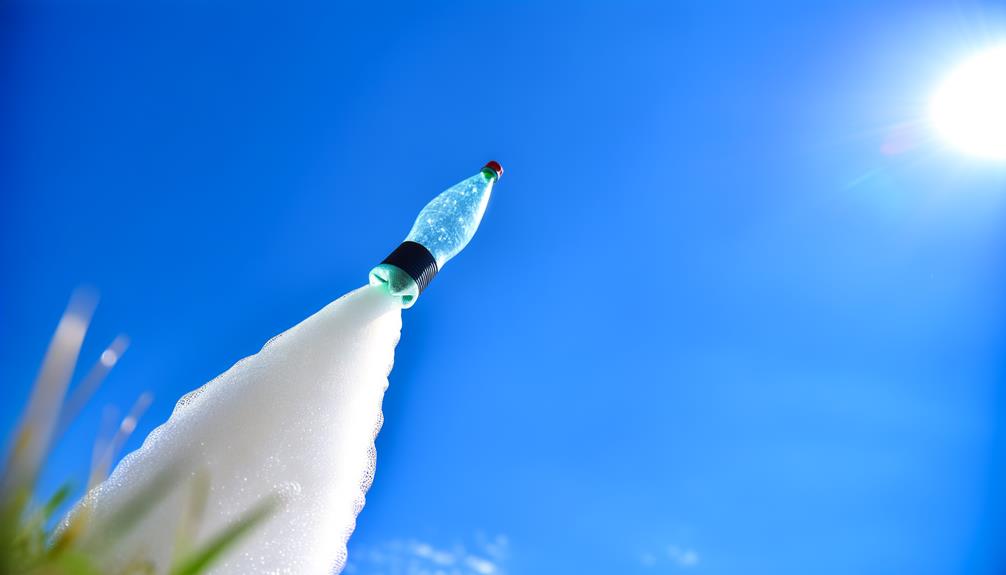
Ready to launch a bottle rocket?
You'll need baking soda and vinegar to create a fizzy reaction that propels your rocket skyward.
Let's mix up this DIY rocket fuel!
[DIRECTIONS]:
Baking Soda Reaction
Mix up a fizzy concoction that'll blast off like rocket fuel! Baking soda and vinegar create an explosive reaction when combined. Here's what you'll need:
- A plastic bottle
- Baking soda
- Vinegar
- Food coloring (optional)
First, add a few spoonfuls of baking soda to the bottle. If you want a colorful reaction, mix in a few drops of food coloring.
Next, slowly pour in some vinegar and watch as the mixture starts to fizz and bubble. The reaction between the baking soda (a base) and the vinegar (an acid) produces carbon dioxide gas, which causes the fizzing and bubbling.
As more gas is produced, pressure builds up inside the bottle until the mixture erupts out of the opening like a mini-volcano or rocket!
Experiment with different amounts of baking soda and vinegar to see how it affects the reaction. You can even try using different types of vinegar, such as apple cider or white vinegar, to see if it changes the results.
Have fun exploring this classic chemical reaction!
Vinegar Propellant
Two common household ingredients can create an explosive chemical reaction that'll propel a plastic bottle like a rocket!
You'll need white vinegar and baking soda. Pour about a cup of vinegar into an empty plastic bottle.
Funnel some baking soda into a small paper tube or straw, then stuff tissue paper into one end to seal it. Drop this "fuel pod" into the bottle and quickly screw on the cap.
Shake the bottle to mix the ingredients, then place it on the ground, cap side down. Stand back as pressure builds inside from the chemical reaction between the acidic vinegar and basic baking soda, producing carbon dioxide gas.
Within seconds, the gas will force the cap off, transforming the bottle into a fizzy rocket! Experiment with different vinegar and baking soda quantities to find the ideal fuel mixture for maximum thrust.
Bottle Rocket Launch
Let's take this classic science fair project to new heights! Building a bottle rocket is an exciting way to explore the power of pressure and propulsion. You'll need a few simple materials:
- A clean, empty plastic bottle with a tight-fitting cap
- Vinegar and baking soda
- A cork or rubber stopper with a hole drilled through the center
- A bicycle pump with a needle adapter
Mix the vinegar and baking soda in the bottle, quickly seal it with the cork, and place it in an open area. Pump air into the bottle through the hole in the cork until the pressure builds and the rocket takes off!
Experiment with different amounts of vinegar and baking soda, as well as varying air pressure, to see how high your rocket can soar. Be sure to wear safety goggles and have adult supervision when launching your rocket.
This thrilling project demonstrates the incredible force that can be generated by a simple chemical reaction, showcasing the principles of Newton's laws of motion in a fun and memorable way.
Color-Changing Cabbage Juice
Did you know that red cabbage juice can magically change colors? It's not really magic, but a fascinating chemical reaction.
Chop up some red cabbage, place it in a pot, and cover it with boiling water. Let it steep for about 10 minutes, then strain the liquid into a jar or bowl. You've now got a pH indicator!
Pour a small amount of the cabbage juice into several clear glasses. Add various household substances to each glass, such as lemon juice, baking soda, or vinegar. Watch as the cabbage juice changes color before your eyes!
It'll turn pink or red when mixed with an acid, like lemon juice or vinegar. When combined with a base, such as baking soda, it'll transform into a bluish-green hue.
The anthocyanins in red cabbage are responsible for this color-changing effect. They're pH-sensitive pigments that change color depending on the acidity or alkalinity of the solution.
Invisible Ink Messages
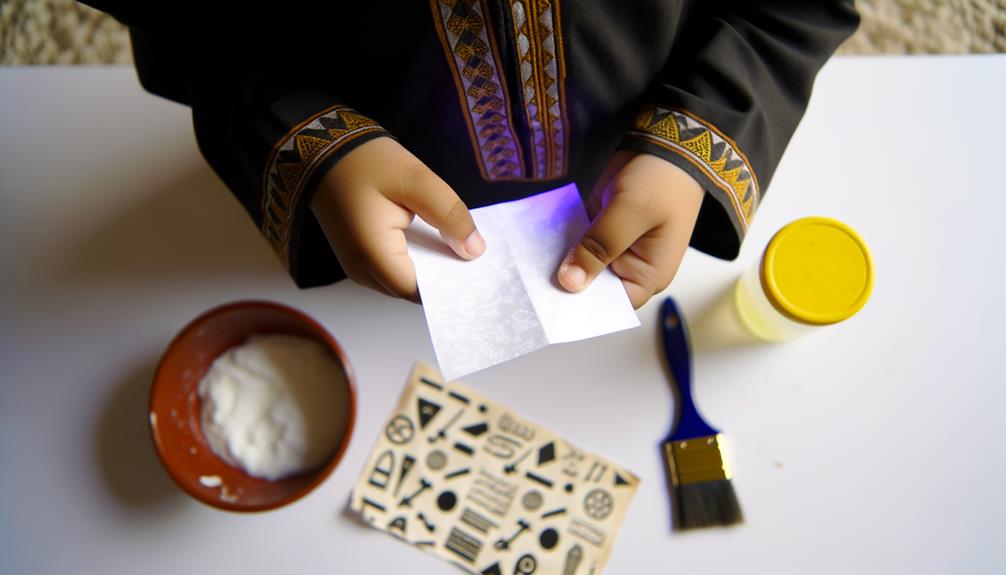
Release your inner spy by creating secret messages with invisible ink! You'll need a few simple household items:
- Lemon juice or milk
- Cotton swabs or a paintbrush
- White paper
- A heat source (lamp or sunlight)
Dip the cotton swab or paintbrush into the lemon juice or milk, and write your message on the white paper. Allow the ink to dry completely; it will become invisible once dry.
To reveal the hidden message, hold the paper near a heat source, such as a lamp or in direct sunlight. The heat will cause the invisible ink to darken, making your secret message appear as if by magic!
Experiment with different invisible ink materials and heat sources to find the most effective combination. You can even create a secret code or cipher to make your messages even more secure.
Have fun exploring the world of invisible ink and releasing your inner secret agent! Just remember to use your powers for good, and always be cautious when working with heat sources.
Dancing Raisins
To make raisins dance, you'll need a clear glass, fresh raisins, and a carbonated beverage like clear soda or sparkling water.
The raisins dance due to the carbonation bubbles in the beverage adhering to their wrinkled surface, causing them to float to the top, where the bubbles pop, and the raisins sink again.
You can experiment with different types of raisins, like golden or sultana, and various carbonated liquids to observe any differences in the dancing behavior.
Ingredients and Supplies
For the dancing raisins experiment, you'll need a few simple ingredients and supplies. Gather these items:
- A clear glass or jar filled with carbonated water or clear soda
- A handful of raisins
- A spoon for stirring
- A curious mind and a dash of patience
The carbonated water or clear soda will provide the bubbles necessary to make the raisins dance. Choose fresh raisins, as they'll sink to the bottom of the glass before the magic begins.
A clear glass or jar allows you to observe the enchanting dance of the raisins as they bob up and down. Finally, a spoon will come in handy for stirring the mixture if needed.
With these ingredients and supplies ready, you're all set to explore the fascinating world of density and buoyancy. The raisins will initially sink due to their density, but as the bubbles from the carbonation attach to their surface, they'll become less dense and rise to the top.
Once the bubbles pop, the raisins will sink again, creating a mesmerizing cycle of dancing raisins.
Simple Science Explanation
Now that you've gathered your ingredients and supplies, let's explore the simple science behind the dancing raisins experiment.
When you drop the raisins into the carbonated beverage, they initially sink because they're denser than the liquid. However, the carbonated drink releases carbon dioxide gas bubbles, which attach to the rough surface of the raisins. As more bubbles accumulate, they provide enough buoyancy to lift the raisins to the surface.
Once the raisins reach the top, the bubbles pop, and the raisins sink again. This cycle repeats, causing the raisins to "dance" up and down in the glass.
The carbonation in the beverage is key to this experiment. Carbon dioxide gas is dissolved under pressure in the liquid, and when you open the container, the pressure decreases, allowing the gas to escape as bubbles. These bubbles are responsible for the dancing motion of the raisins.
You can experiment with different carbonated beverages and observe how the level of carbonation affects the raisins' dance. Try to predict which drink will make the raisins dance the longest!
Experiment Variations
Experimenting with different variables is an excellent way to take your dancing raisins experiment to the next level. By changing the type of liquid, the amount of gas in the soda, or even the shape and size of the raisins, you can observe how these factors affect the raisins' dance moves.
Consider trying these variations:
- Swap out the clear soda for different types of carbonated beverages, such as cola, sparkling water, or even champagne (for adults only).
- Use a variety of dried fruits, like cranberries or chopped apricots, to see if they dance differently than raisins.
- Alter the temperature of the soda by chilling it in the refrigerator or letting it warm up to room temperature before adding the raisins.
- Cut the raisins in half or use smaller or larger raisins to investigate how size impacts their movement.
Elephant Toothpaste Eruption
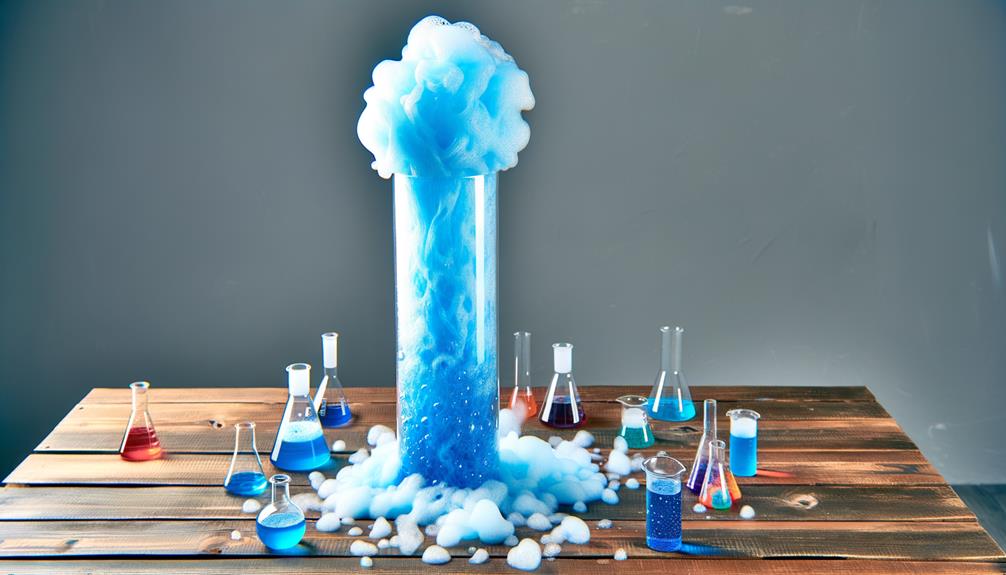
Get ready for an explosive science experiment that'll blow your mind! The Elephant Toothpaste Eruption is a classic demonstration of an exothermic reaction. You'll need hydrogen peroxide, dish soap, food coloring, and a catalyst like potassium iodide or yeast.
Pour the hydrogen peroxide into a tall container, add a squirt of dish soap, and a few drops of food coloring. Mix the catalyst with water in a separate container, then quickly pour it into the hydrogen peroxide mixture.
Stand back and watch as a massive, colorful foam erupts from the container, resembling giant toothpaste!
The catalyst rapidly decomposes the hydrogen peroxide into water and oxygen gas. The dish soap traps the oxygen, creating an impressive foamy structure. The heat generated by the reaction warms up the foam, adding to the dramatic effect.
Experiment with different concentrations of hydrogen peroxide and catalysts to observe how they affect the reaction's speed and foam volume.
Remember to wear protective gear and conduct this experiment in a well-ventilated area or outdoors. Have fun exploring the fascinating world of chemistry with this awe-inspiring demonstration!
Crystal Garden Wonders
Begin a mesmerizing journey into the domain of crystal gardens! With just a few household items, you can create a dazzling display of colorful crystals that grow right before your eyes. Here's what you'll need:
- A glass jar or bowl
- Water
- Ammonia
- Liquid bluing (found in the laundry section)
- Food coloring
- A porous item like charcoal, sponge, or cardboard
To start, mix equal parts water and liquid bluing in the jar. Add a splash of ammonia and a few drops of food coloring.
Place your porous item in the center of the jar, ensuring it's partially submerged. Over the next few hours, watch in awe as delicate, shimmering crystals form on the surface and edges of your chosen object.
The crystals will continue to grow for several days, creating a stunning, otherworldly garden.
Experiment with different colors and porous materials to create a variety of enchanting crystal landscapes. This engaging project demonstrates the fascinating process of crystal formation and is sure to spark curiosity and wonder in aspiring scientists of all ages.
Milk Art Madness
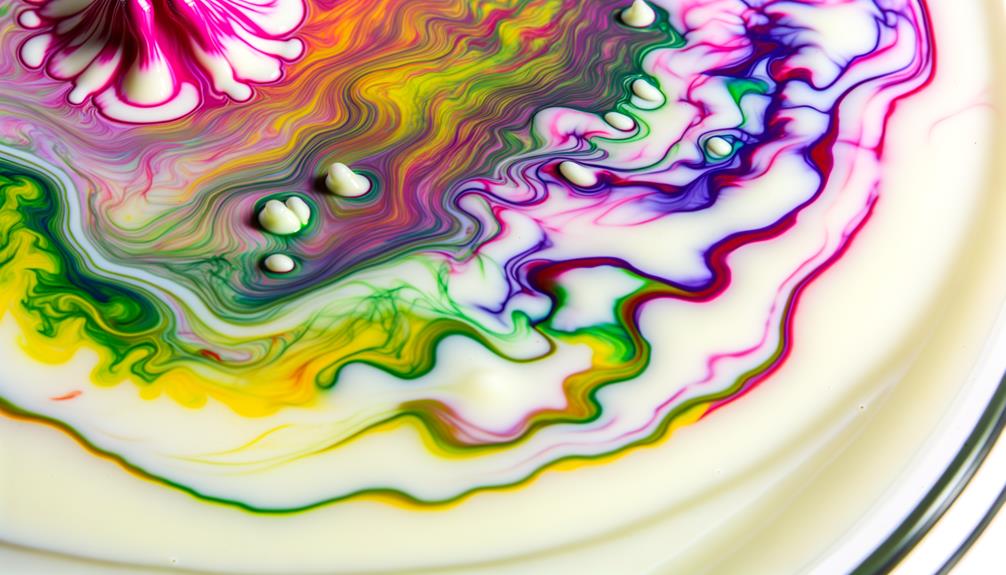
Three simple ingredients are all you need to create a swirling, marbled masterpiece on a plate! Milk Art Madness is an exciting experiment that combines art and science. You'll need whole milk, food coloring, and dish soap. Pour the milk into a shallow dish, then add drops of various food colors onto the milk's surface. Now, dip a cotton swab into dish soap and gently touch the center of the milk. Watch in amazement as the colors burst into motion, creating mesmerizing patterns.
| Ingredient | Amount | Purpose |
|---|---|---|
| Whole Milk | 1/2 cup | Provides the canvas |
| Food Coloring | A few drops of each color | Adds vibrant hues |
| Dish Soap | A small drop | Disrupts the milk's surface tension |
The science behind this artwork lies in the interaction between the milk's fat content, the food coloring's water-based nature, and the dish soap's ability to break the surface tension. As the soap spreads, it causes the colors to swirl and mix, resulting in a dynamic, one-of-a-kind creation. Experiment with different color combinations and techniques to make your own unique milk art masterpieces!
Bouncy Egg Experiment
Have you ever wondered what would happen if you soaked an egg in vinegar? The Bouncy Egg Experiment is a fun and educational way to explore the science behind this fascinating reaction.
When you submerge an egg in vinegar, the acetic acid in the vinegar reacts with the calcium carbonate in the eggshell, causing it to dissolve. This process takes about 2-3 days, and you'll notice:
- Bubbles forming on the surface of the egg as the reaction occurs
- The egg gradually becoming translucent as the shell dissolves
- The egg's membrane remaining intact, holding the contents together
- The egg becoming slightly larger and more flexible than before
Once the shell has completely dissolved, you can gently remove the egg from the vinegar and rinse it off. The result is a bouncy, translucent egg that can be gently squeezed and manipulated without breaking.
This experiment demonstrates the power of acid-base reactions and provides a hands-on opportunity to observe the unique properties of the egg's membrane. Give it a try and marvel at the incredible transformation!
Frequently Asked Questions
What Safety Precautions Should Be Taken When Conducting Chemistry Experiments at Home?
When conducting chemistry experiments at home, you should always wear protective gear like goggles and gloves. Work in a well-ventilated area, and never mix chemicals unless instructed. Have an adult supervise, and keep a fire extinguisher nearby.
Are There Any Age Restrictions for These Chemistry Experiments?
You should check each experiment's age recommendations. Some may be suitable for younger kids with adult supervision, while others are best for teens and adults. Always prioritize safety and follow the instructions carefully.
How Can I Dispose of the Materials Used in These Experiments Safely?
Dispose of the materials according to the instructions provided with each experiment. If unsure, contact your local waste management facility for guidance. Never pour chemicals down the drain or discard them in the trash.
What Are Some Common Household Items That Can Be Used in Chemistry Experiments?
You can use common household items like baking soda, vinegar, food coloring, and dish soap in chemistry experiments. They're safe, affordable, and easily accessible, making them perfect for hands-on learning at home.
Are There Any Experiments That Can Be Done Without Adult Supervision?
It's best to have adult supervision for chemistry experiments, even simple ones. There are a few very basic experiments you could try on your own, but always prioritize safety and ask for help if needed.
Conclusion
You've explored the exciting world of chemistry with these 10 fun experiments! From creating mesmerizing lava lamps to releasing the power of elephant toothpaste, you've seen firsthand how simple household items can lead to incredible reactions. You've made slime, launched rockets, and even created invisible messages! These experiments have shown you that chemistry is all around us, and with a little curiosity and imagination, you can uncover its secrets right in your own home.


Leave a Reply