Get ready for an explosive adventure by creating your own volcano at home! You'll need a few simple materials like an empty plastic bottle, baking soda, vinegar, and food coloring. First, build the volcano structure around the bottle using clay or papier-mâché. Next, mix the eruption ingredients and prepare a safe outdoor site for the eruption. Then, pour the baking soda mixture into the volcano, followed by the vinegar, and watch as your volcano comes to life with a foaming, colorful eruption! Experiment with different variables to see how they affect the eruption. Keep exploring to uncover the fascinating science behind volcanoes.
Gather Your Materials
Gather your volcano-making supplies, which include an empty plastic bottle, cardboard, scissors, tape, baking soda, vinegar, red food coloring, and a funnel.
You'll also need a flat surface to build your volcano on, such as a table or the floor. Make sure you have enough space to work and that you're not too close to any valuable items, as the eruption can get messy.
Before you start, it's a good idea to lay down some newspaper or a plastic tablecloth to protect the surface you're working on. You may also want to wear an apron or old clothes that you don't mind getting dirty, as the food coloring can stain.
Double-check that you have all the necessary materials before you begin. It's frustrating to start a project only to realize you're missing something essential.
Once you've gathered everything, you're ready to move on to the next step: building the volcano's structure. With your supplies at hand, you're well on your way to creating an impressive and educational volcanic eruption!
Build the Volcano Structure
With your materials ready, it's time to construct the volcano's frame. Begin by placing the empty plastic bottle in the center of the cardboard or wooden base. Using the modeling clay or papier-mâché, build up the volcano's shape around the bottle, creating a cone-like structure. Verify the clay or papier-mâché is securely attached to the base and the bottle opening remains unobstructed.
| Step | Material | Action |
|---|---|---|
| 1 | Plastic bottle | Place in the center of the base |
| 2 | Modeling clay or papier-mâché | Build volcano shape around the bottle |
| 3 | Bottle opening | Verify it remains unobstructed |
| 4 | Base and bottle | Secure the clay or papier-mâché |
As you build, consider adding texture and details to your volcano, such as ridges, crevices, and even a lava flow path. This will enhance the realism of your model. Once you're satisfied with the shape and appearance of your volcano, allow the clay or papier-mâché to dry completely before proceeding to the next step.
Mix the Eruption Ingredients
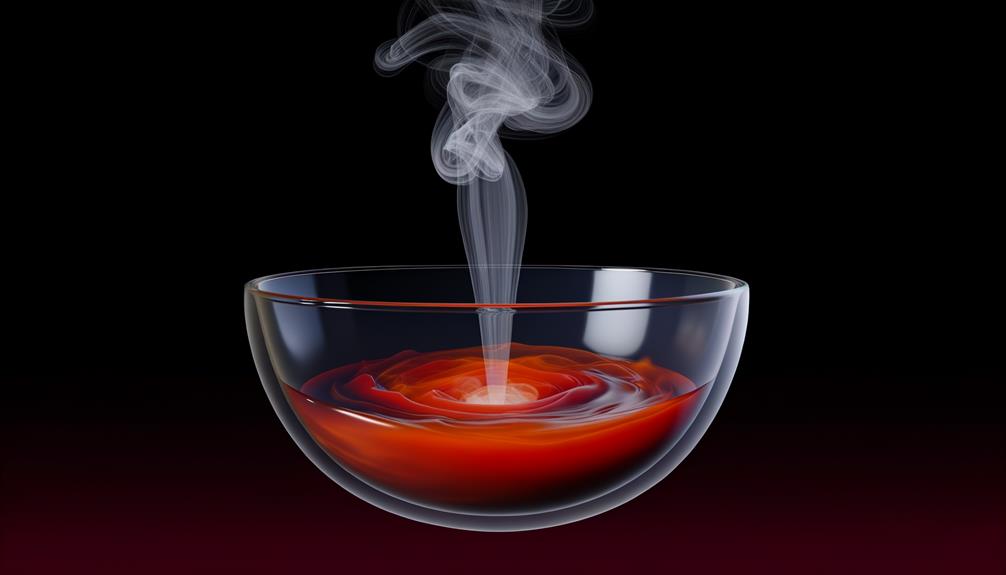
To create the volcanic eruption, you'll need baking soda, vinegar, dish soap, and red food coloring.
In a small bowl, mix 4 tablespoons of baking soda with a few drops of dish soap and red food coloring until well combined.
When you're ready for the eruption, pour in 1/2 cup of vinegar and watch the reaction unfold!
Materials Needed
You'll need a few key ingredients to create the explosive eruption for your volcano. These materials are readily available and safe for kids to use with adult supervision:
- Baking soda (sodium bicarbonate): This common household item is the main ingredient that reacts with the vinegar to produce the eruption.
- Vinegar: White vinegar or apple cider vinegar work best due to their acidity, which is essential for the chemical reaction.
- Food coloring (optional): Adding a few drops of red or orange food coloring can make the eruption look more realistic and visually appealing.
- Liquid dish soap (optional): A small squirt of liquid dish soap can help create a foamier eruption by trapping the gas bubbles produced during the reaction.
Make sure to have a measuring cup and spoon on hand to accurately measure the ingredients.
It's also a good idea to have a funnel or rolled-up paper to help pour the ingredients into the volcano's opening.
With these materials ready, you're all set to mix the eruption ingredients and bring your volcano to life!
Mixing Instructions
Mix the eruption ingredients in a small container before adding them to your volcano.
You'll need 4 tablespoons of baking soda, 1 teaspoon of dish soap, and a few drops of red and yellow food coloring.
Pour the baking soda into a bowl, then add the dish soap and food coloring. Stir the mixture until it's well combined and the color is evenly distributed.
When you're ready to make your volcano erupt, carefully pour the mixture into the bottle at the center of your volcano.
Pour it slowly to avoid any premature reactions.
Once the mixture is in the bottle, it's time to add the final ingredient: vinegar.
Measure out 1/2 cup of white vinegar and pour it into the bottle with the baking soda mixture.
As soon as the vinegar comes into contact with the baking soda, you'll see a foamy, colorful eruption!
The reaction between the baking soda and vinegar creates carbon dioxide gas, which rapidly expands and forces the foamy mixture up and out of the bottle, simulating a volcanic eruption.
Prepare the Eruption Site
Choose a safe outdoor location for your volcanic eruption, like a sandbox or paved area.
Build your volcano by shaping a mound of dirt or sand around an empty plastic bottle placed upright in the center.
Decorate the volcano with rocks, sticks, or even paint to make it look realistic.
Choose Location
Your backyard or a nearby park is the perfect spot for your volcanic eruption. Make sure the area is clear of any flammable materials or objects that could be damaged by the eruption.
Consider the following factors when selecting your location:
- Space: Choose a site with ample room for your volcano and any spectators.
- Surface: A flat, stable surface is ideal for constructing your volcano.
- Cleanup: Opt for a location that allows for easy cleanup after the eruption.
- Safety: Make sure the area is well-ventilated and away from buildings or structures.
Once you've found the perfect spot, it's time to prepare the eruption site. Clear the area of any debris, and lay down a protective covering, such as a tarp or plastic sheet, to make cleanup easier.
If you're working on grass, consider using a large piece of cardboard as a base for your volcano. This will prevent the eruption from damaging the lawn.
With your location selected and the site prepared, you're ready to start building your volcano and get one step closer to an exciting and educational eruption!
Build Volcano
Now that you've selected the perfect location and prepared the eruption site, it's time to build your volcano. Start by placing a small container, like a plastic cup or bottle, in the center of your chosen area. This will serve as the volcano's core and the place where the "lava" will erupt from.
| Step | Materials | Action |
|---|---|---|
| 1 | Container, cardboard, scissors | Place container in the center, cut cardboard to form volcano shape around it |
| 2 | Newspaper, masking tape | Crumple newspaper, tape it around the container to create volcano shape |
| 3 | Paper mache (flour, water, newspaper) | Mix flour and water, dip newspaper strips, cover volcano, let dry |
| 4 | Paint, brushes | Once dry, paint your volcano to make it look realistic |
After completing these steps, your volcano structure is ready. Verify the container opening at the top is accessible, as this is where you'll pour the ingredients for the eruption. Double-check the stability of your volcano and make any necessary adjustments before moving on to the next exciting stage of the experiment.
Trigger the Eruption
It's the moment you've been waiting for – triggering your volcano's eruption! Here's how to make your homemade volcano erupt spectacularly:
- Pour 1/4 cup of warm water into the volcano's opening.
- Add 1/4 cup of baking soda to the water and stir gently.
- In a separate cup, mix together 1/4 cup of vinegar and several drops of red food coloring.
- Quickly pour the vinegar mixture into the volcano and watch the eruption begin!
The baking soda (sodium bicarbonate) and vinegar (acetic acid) react to create carbon dioxide gas. As the gas rapidly forms, it pushes the red-colored liquid out of the volcano's opening, simulating a real volcanic eruption.
The foam produced will flow down the sides of your volcano, resembling lava.
Experiment with different amounts of baking soda and vinegar to create larger or smaller eruptions. You can also try using different colors of food coloring to create various types of "lava."
Remember to perform this experiment outdoors or in a well-ventilated area, and always clean up any messes afterwards. Enjoy your volcanic adventure!
Observe the Volcanic Reaction
Once you've triggered the eruption, take a moment to observe the fascinating chemical reaction taking place. Watch as the "lava" rapidly foams up and spills over the sides of your volcano, creating an impressive display that mimics the behavior of real-life lava flows.
You'll notice the mixture bubbling and expanding as the baking soda and vinegar interact, releasing carbon dioxide gas.
Pay attention to the texture and color of the "lava." The dish soap helps create a foamy consistency, while the red food coloring gives it a realistic appearance.
As the eruption continues, you might see the "lava" flow slow down and eventually stop once the chemical reaction has run its course.
This volcanic reaction demonstrates the power of simple household ingredients when combined in the right way. The rapid release of gas during the reaction is what causes the dramatic eruption effect.
Experiment With Different Variables
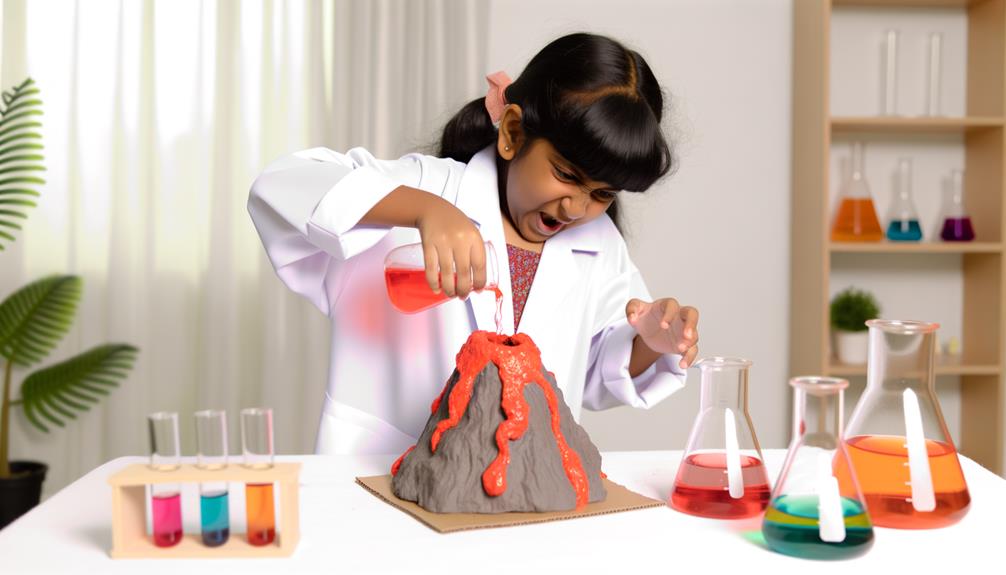
After mastering the basic volcanic reaction, you can take your experiment to the next level by exploring different variables. By adjusting the ingredients or their proportions, you'll observe changes in the eruption's intensity, duration, and appearance.
Consider trying these variations:
- Vinegar temperature: Use cold, room temperature, or warm vinegar to see how it affects the reaction speed and intensity.
- Baking soda quantity: Increase or decrease the amount of baking soda to observe changes in the eruption's size and duration.
- Vinegar type: Experiment with different types of vinegar, such as white vinegar, apple cider vinegar, or rice vinegar, to see if they produce different results.
- Add-ins: Mix in small amounts of dish soap, food coloring, or glitter to create unique effects and observe how they influence the eruption.
Keep a record of your observations for each variation, noting the changes in the volcanic reaction.
By experimenting with different variables, you'll gain a deeper understanding of the factors that influence the chemical reaction and develop your scientific inquiry skills.
Remember to always prioritize safety and clean up thoroughly after each experiment.
Learn Volcano Science
Understanding the science behind your homemade volcano can deepen your appreciation for this exciting experiment. The chemical reaction between the baking soda and vinegar creates carbon dioxide gas, which rapidly expands and builds pressure.
As the gas seeks to escape, it pushes the liquid mixture up and out of the volcano's opening, simulating a volcanic eruption.
Real volcanoes form when magma rises through cracks in the Earth's crust. As magma nears the surface, dissolved gases expand and create pressure, leading to explosive eruptions.
Lava, ash, and gases are expelled from the volcano's vent, while the magma chamber below refills with molten rock from the mantle.
Clean Up and Dispose
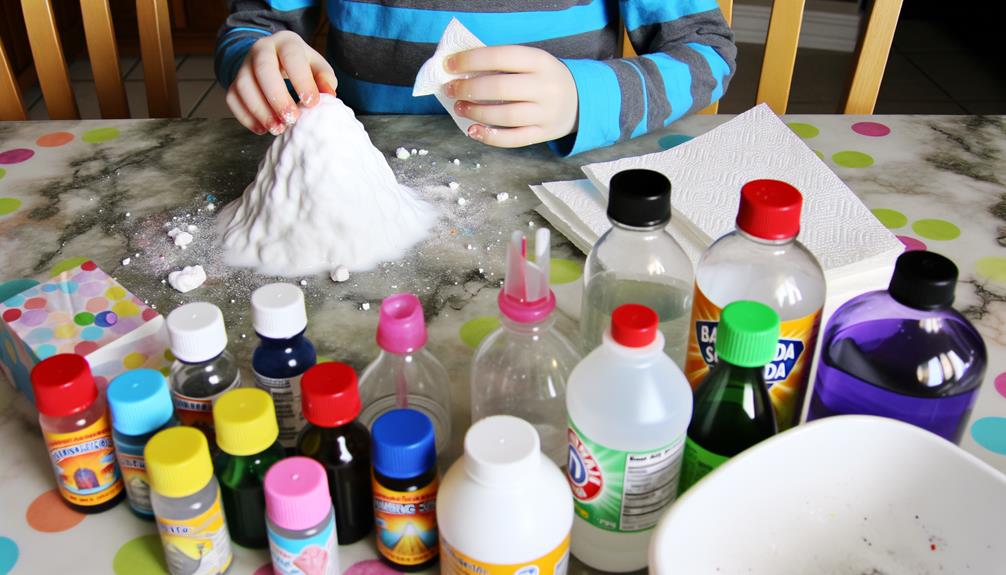
Cleaning up after your volcano experiment is essential to maintain a tidy workspace and prevent any damage to surfaces.
Start by carefully disposing of the volcanic "lava" in a sink or outdoors, guaranteeing it doesn't come into contact with your skin or eyes. Next, remove any remaining baking soda and vinegar from the volcano model and rinse it thoroughly with water.
To clean up your work area, follow these steps:
- Wipe down the surface with a damp cloth or sponge to remove any residue.
- Use a mild cleaning solution if necessary to remove stubborn stains.
- Dry the surface completely with a clean towel or paper towels.
- Dispose of any used materials, such as paper towels or plastic sheets, in the appropriate waste bins.
Remember to always prioritize safety when cleaning up after your experiment. Wear gloves if needed, and avoid mixing cleaning products, as this can create dangerous fumes.
Reflect on the Experience
Reflecting on your volcano experiment is an essential step in solidifying your understanding of the scientific concepts at play. Take a moment to contemplate what you observed during the eruption and how it relates to real-world volcanoes. Think about the chemical reaction between the baking soda and vinegar, and how the pressure built up inside the volcano until it couldn't be contained any longer.
| Ingredient | Purpose | Role in Eruption |
|---|---|---|
| Baking Soda | Base | Reacts with vinegar to create CO2 gas |
| Vinegar | Acid | Reacts with baking soda to create CO2 gas |
| Pressure | Force | Builds up inside the volcano until eruption occurs |
Frequently Asked Questions
Can I Use Any Container to Build the Volcano Structure?
You can use various containers to build your volcano structure, like plastic bottles, cups, or bowls. Just make sure it's sturdy enough to hold the "lava" and won't leak when it erupts!
Is It Safe to Touch the "Lava" After the Eruption?
No, don't touch the "lava" right after the eruption! It's a chemical reaction and can be hot. Wait for it to cool down completely before touching or cleaning up the mess.
How Long Does the Eruption Typically Last?
The eruption typically lasts for a few seconds to a minute, depending on the amount of vinegar you use and the size of your volcano. You can always add more vinegar for a longer eruption!
Can I Use Other Liquids Instead of Water for the Eruption?
You can experiment with different liquids like vinegar, lemon juice, or even soda for the eruption. They'll react differently with the baking soda, creating unique eruptions. Have fun exploring the possibilities!
How Can I Make the Volcano Erupt Multiple Times?
You can make your volcano erupt multiple times by adding more baking soda and vinegar after each eruption. Just clean out the "crater" between eruptions, and you're ready to go again!
Conclusion
You've just created your own miniature volcano and witnessed the power of a chemical reaction! Wasn't that an exciting way to learn about science? You can try different variables to see how they affect the eruption. Remember, real volcanoes are far more complex and dangerous, so leave those to the experts. Clean up your mess, dispose of the materials properly, and think about what you've learned. Science is a blast!


Leave a Reply